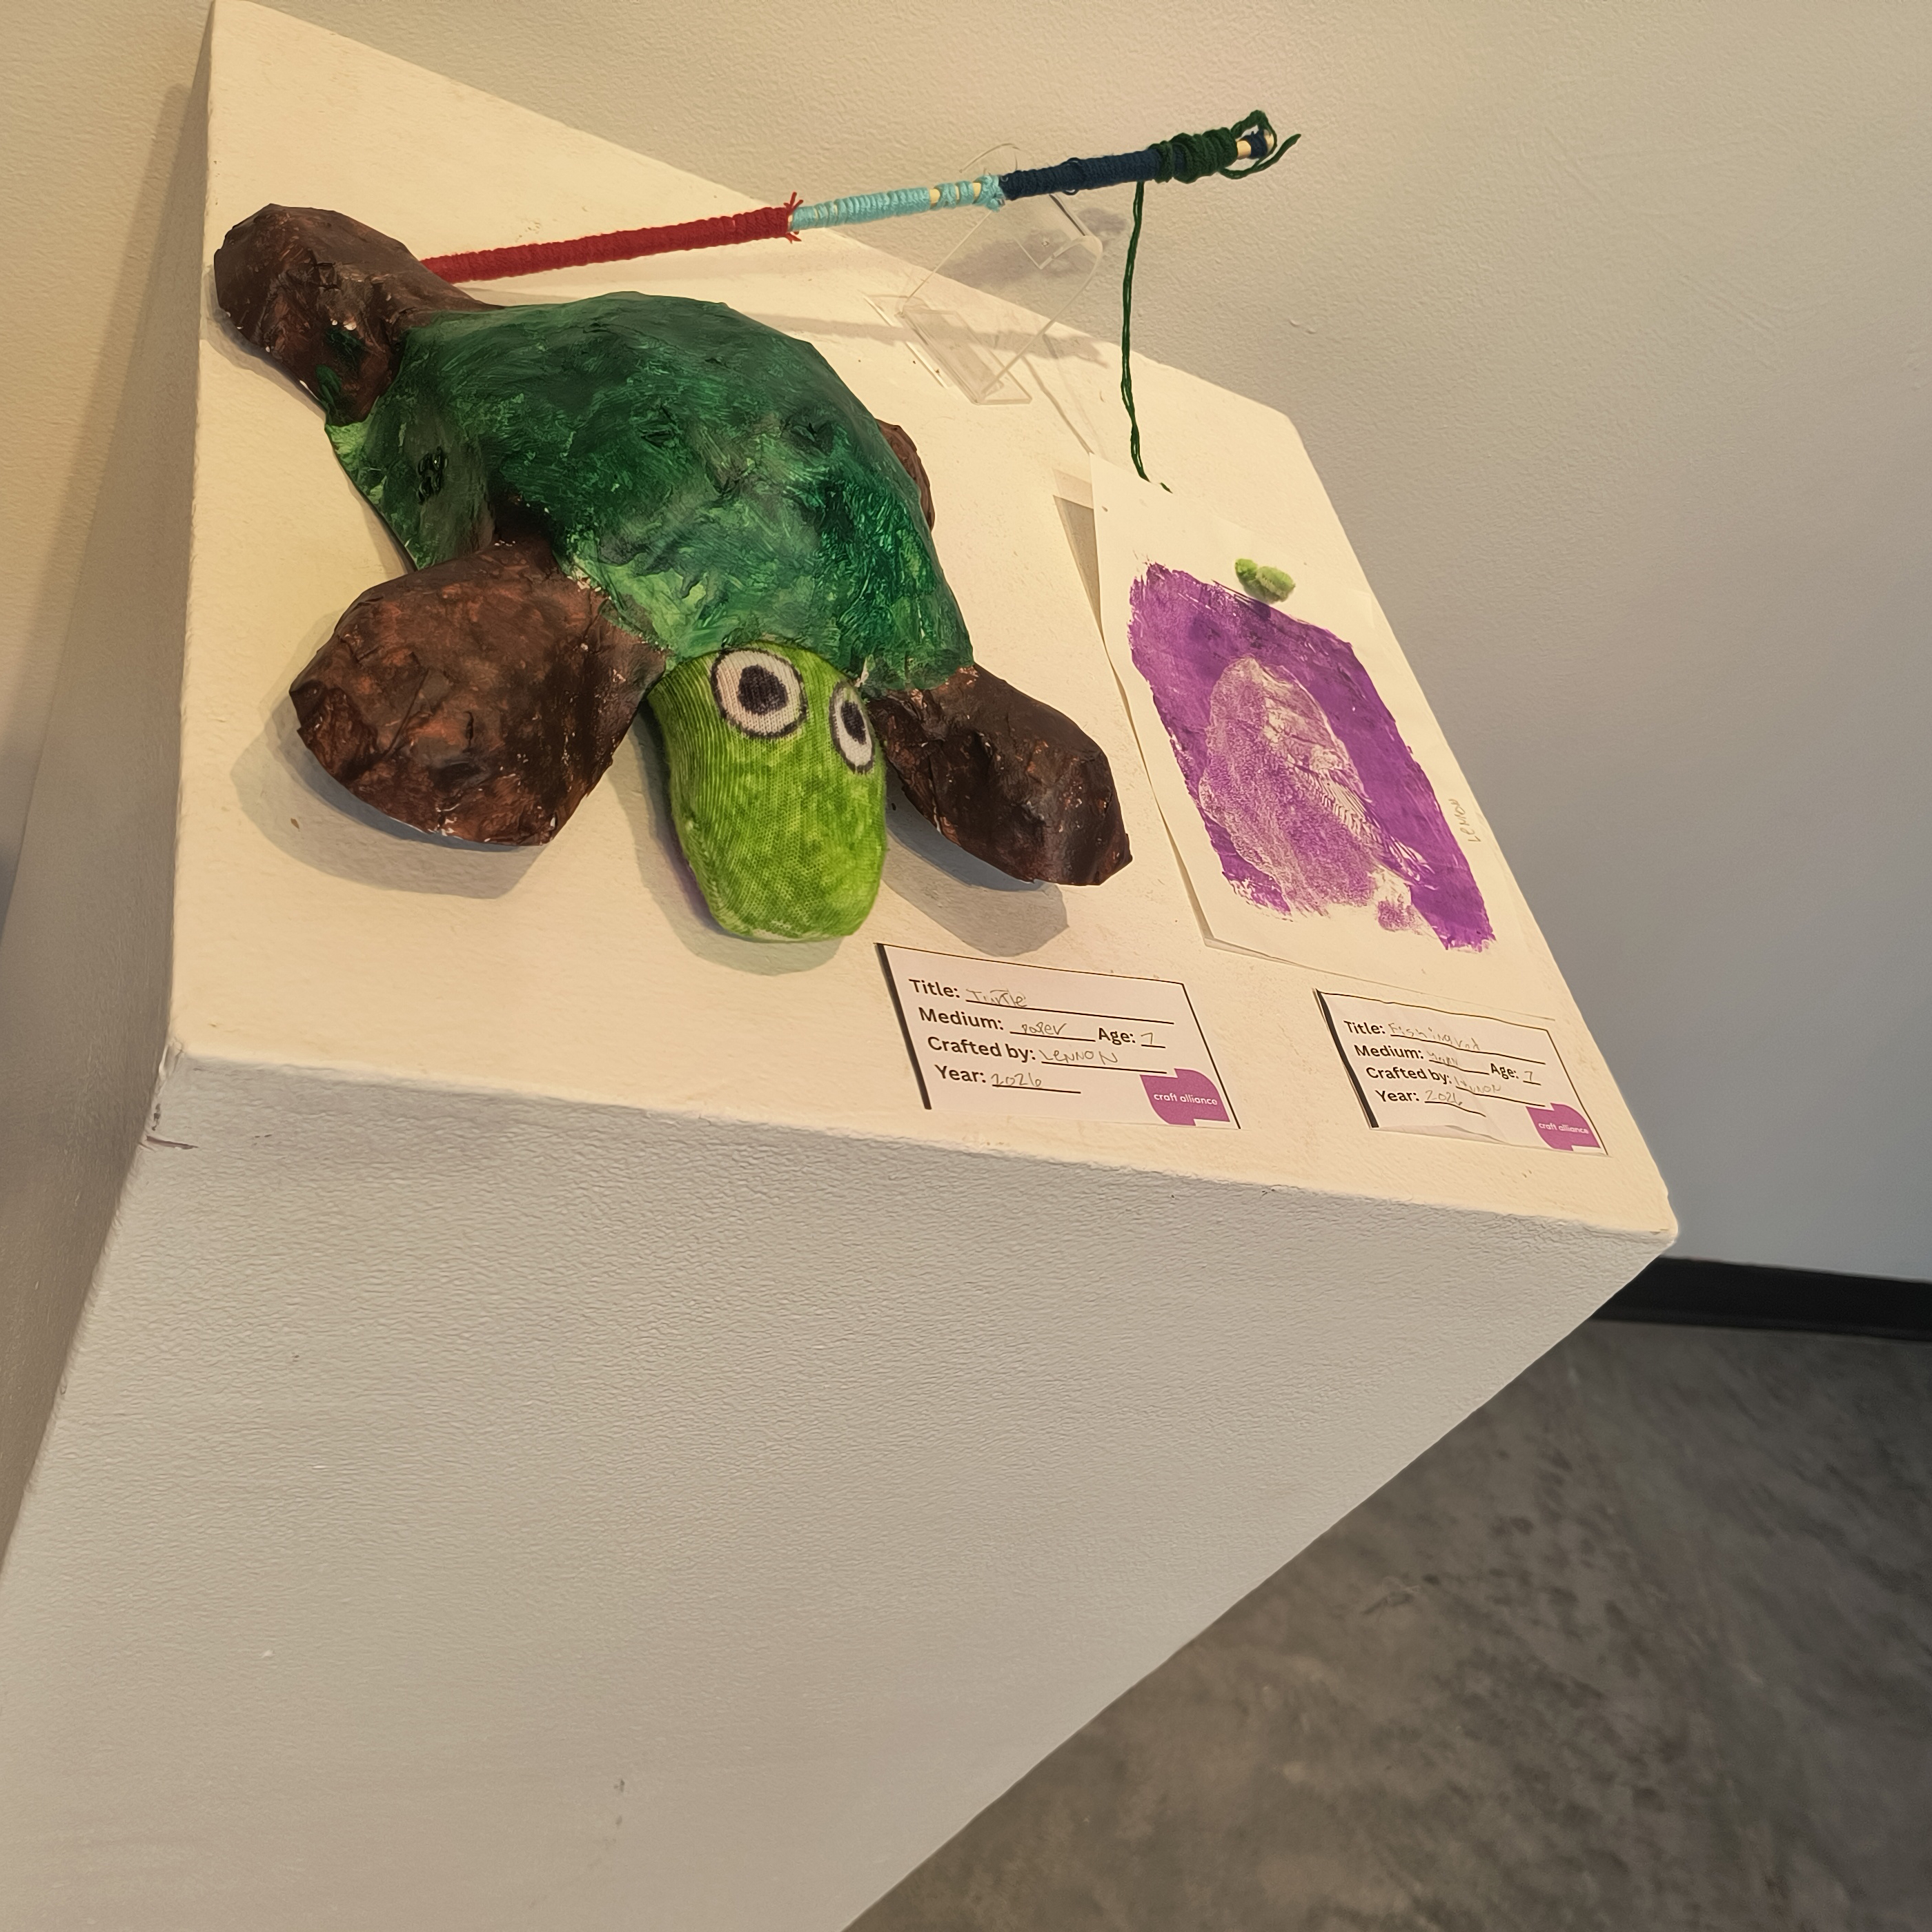
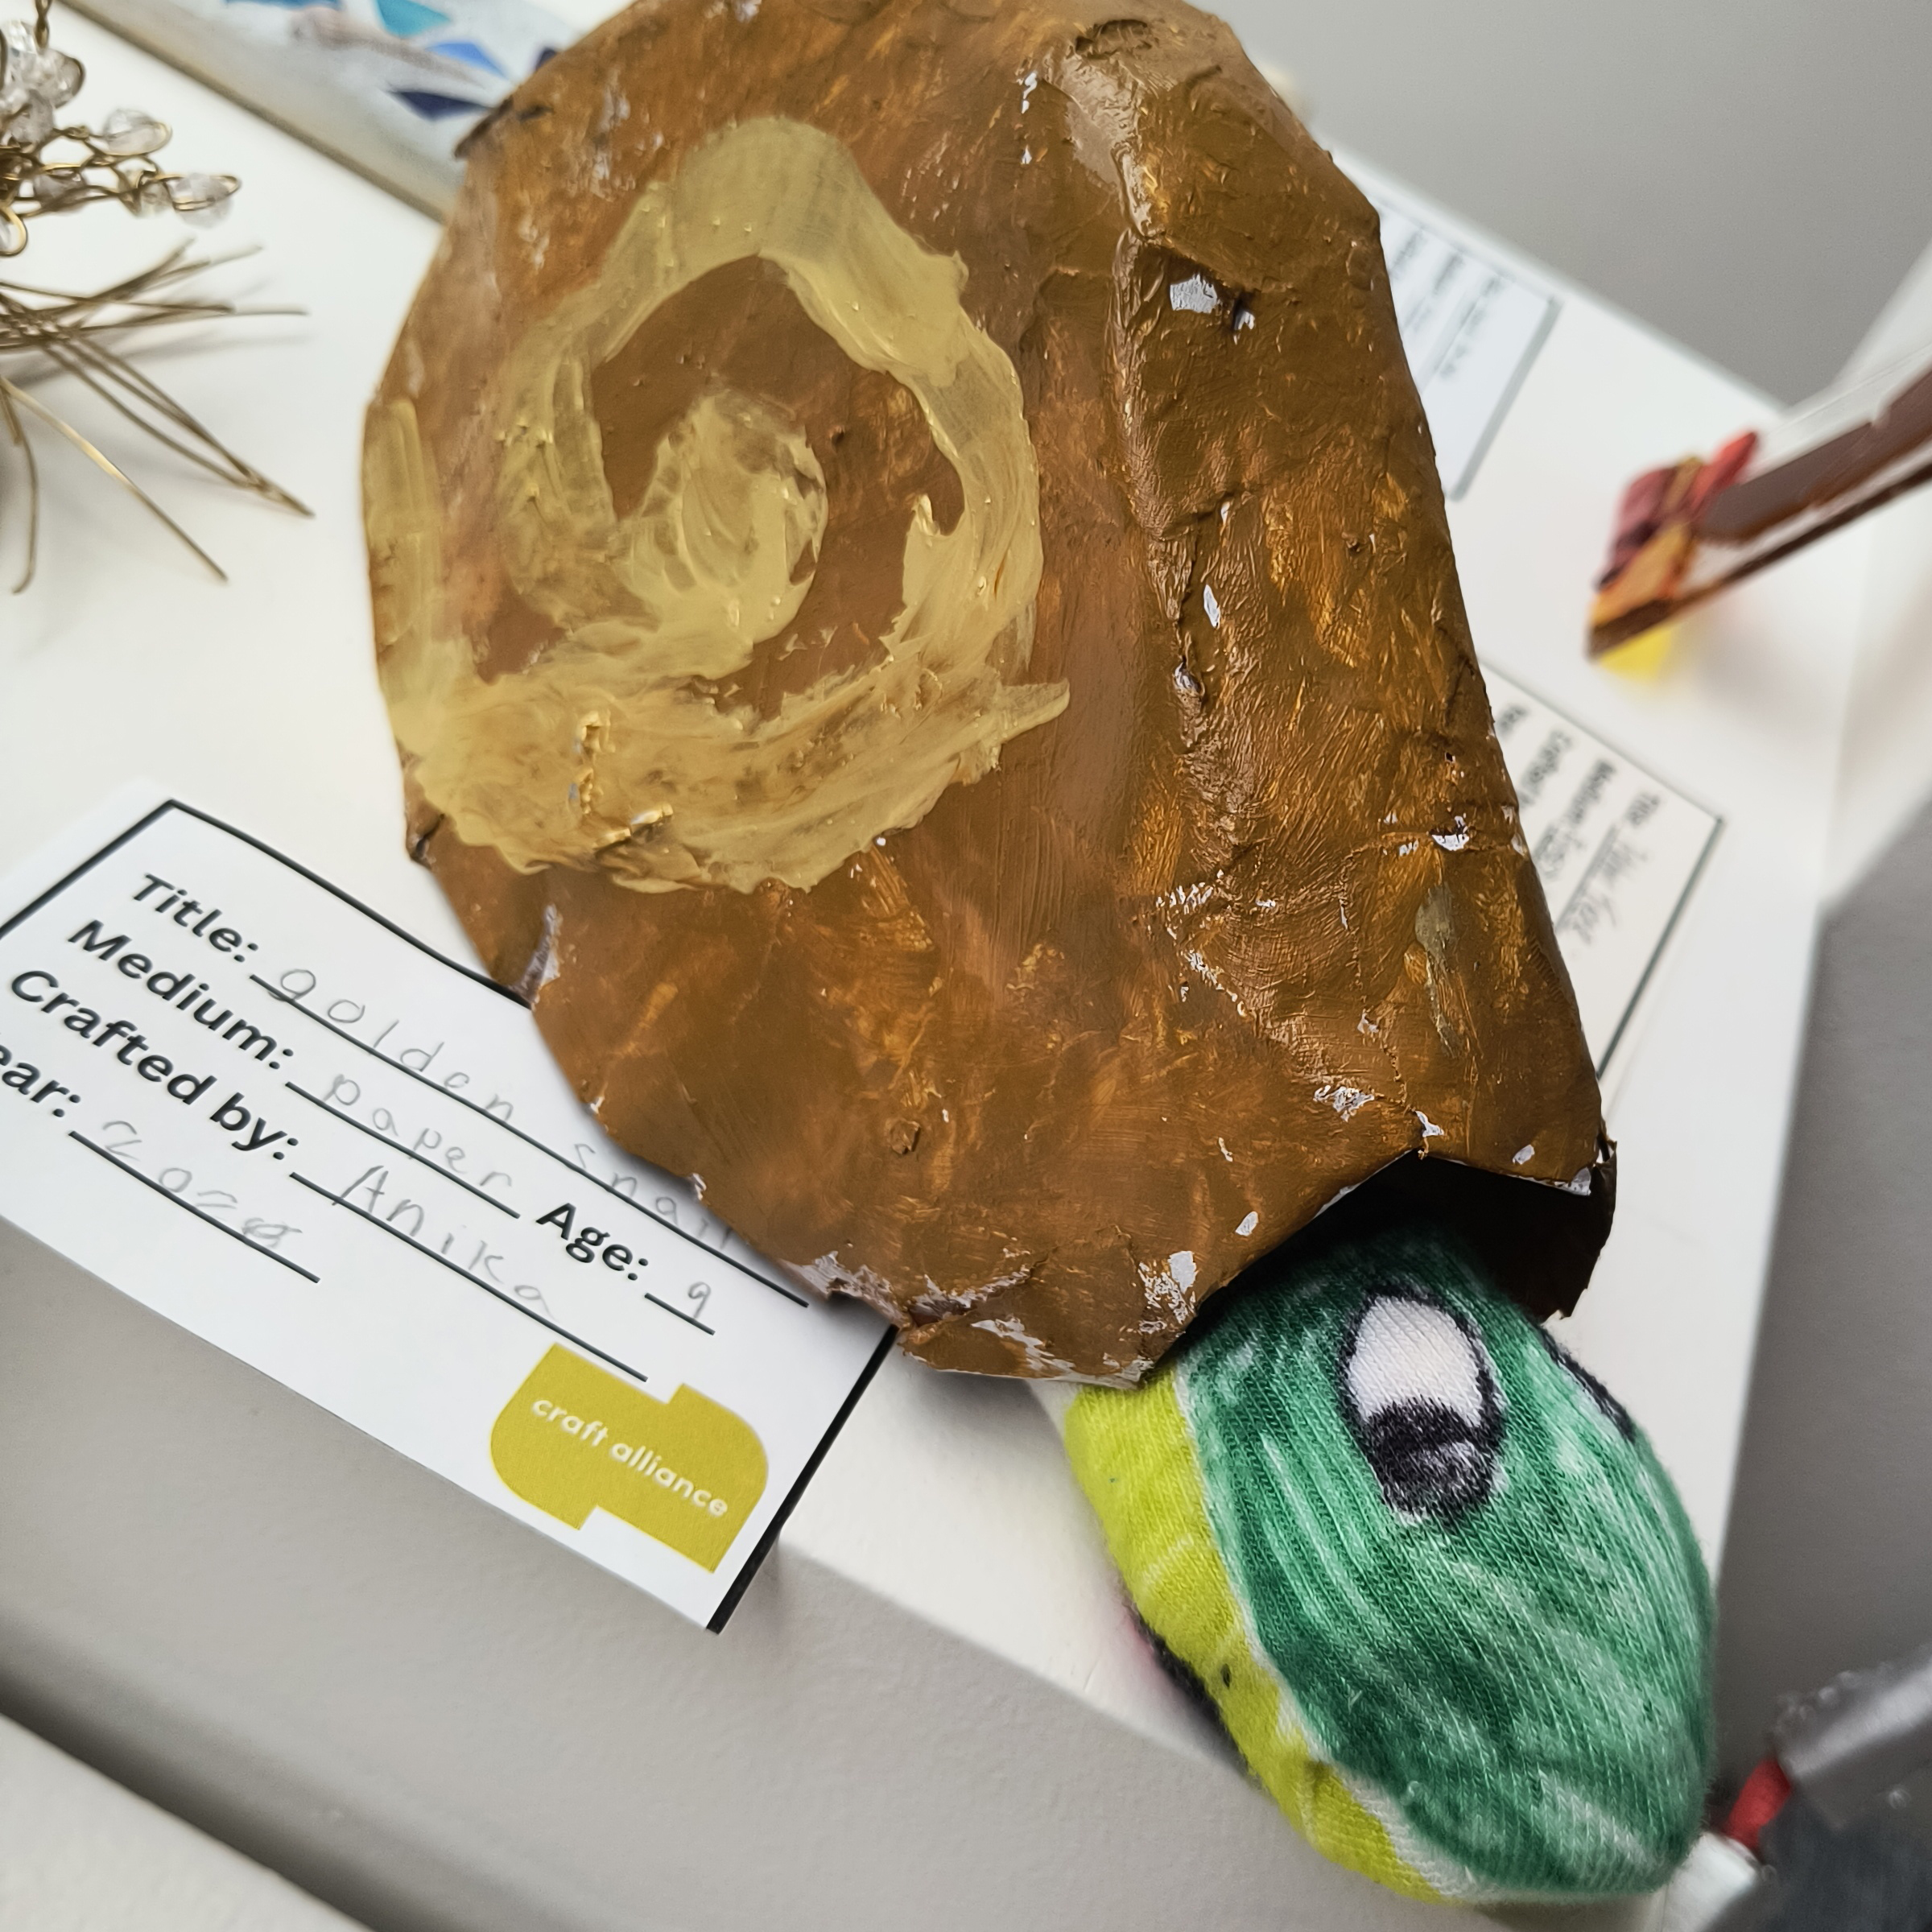
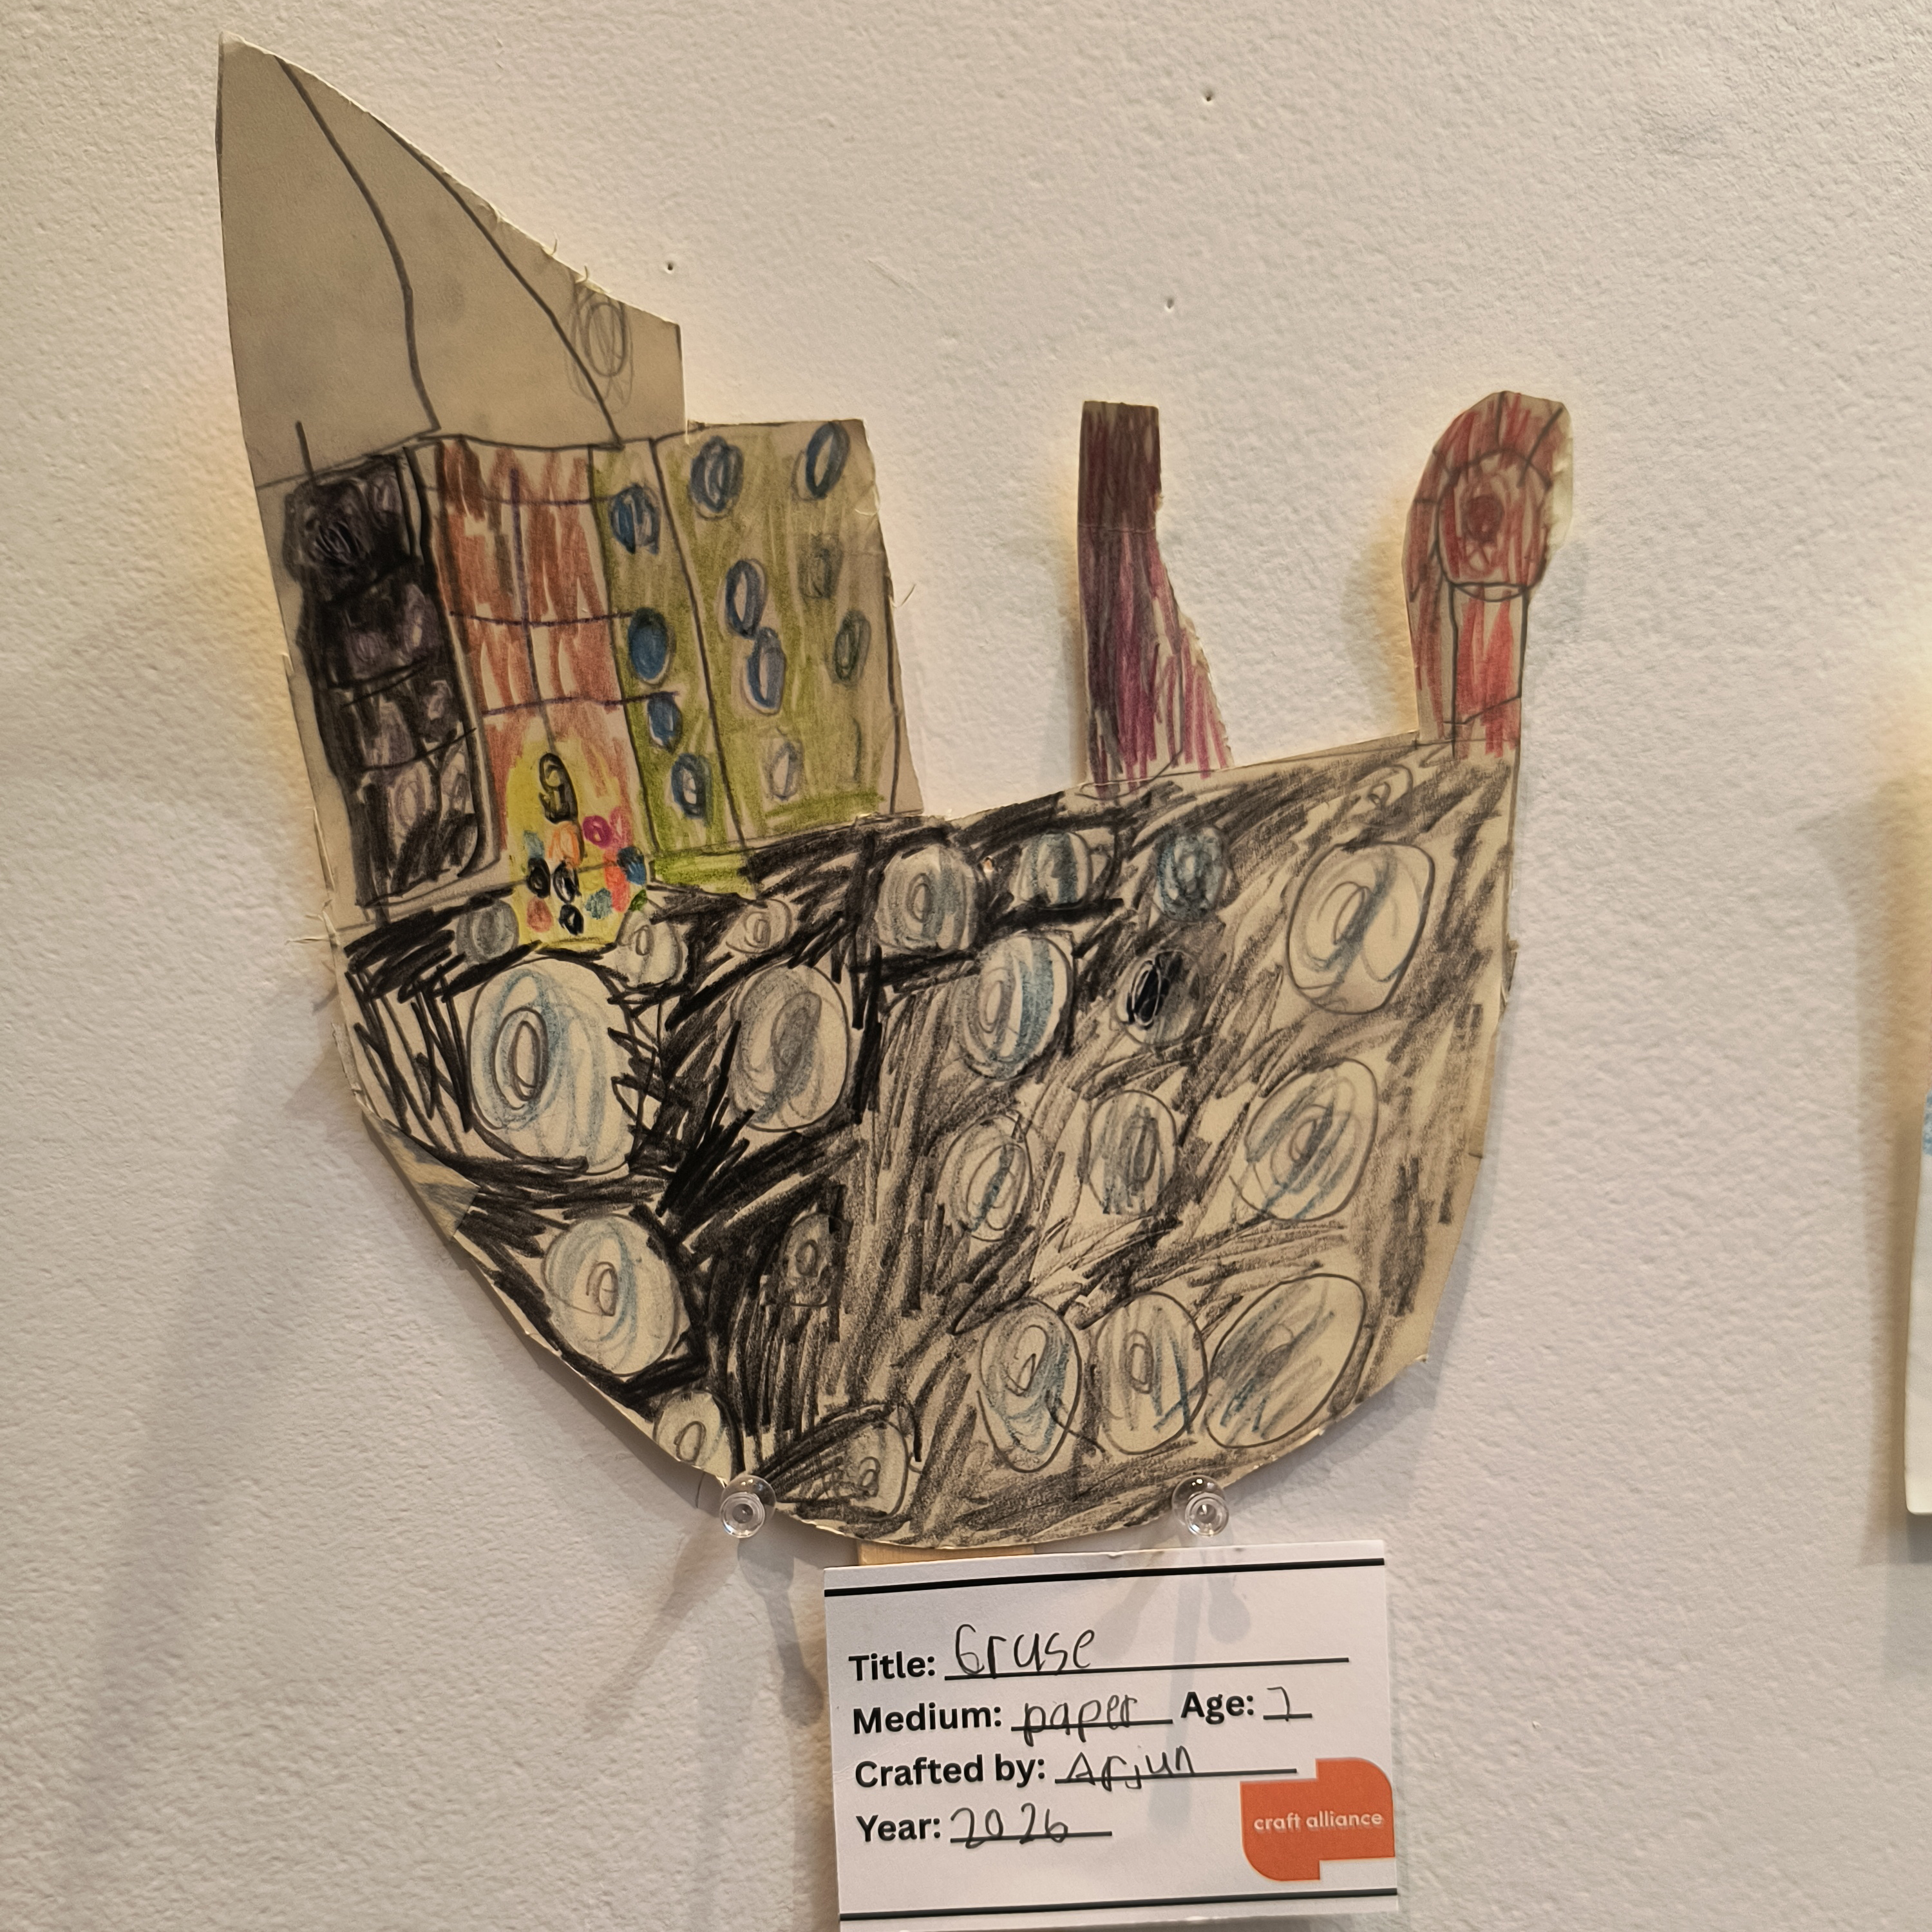
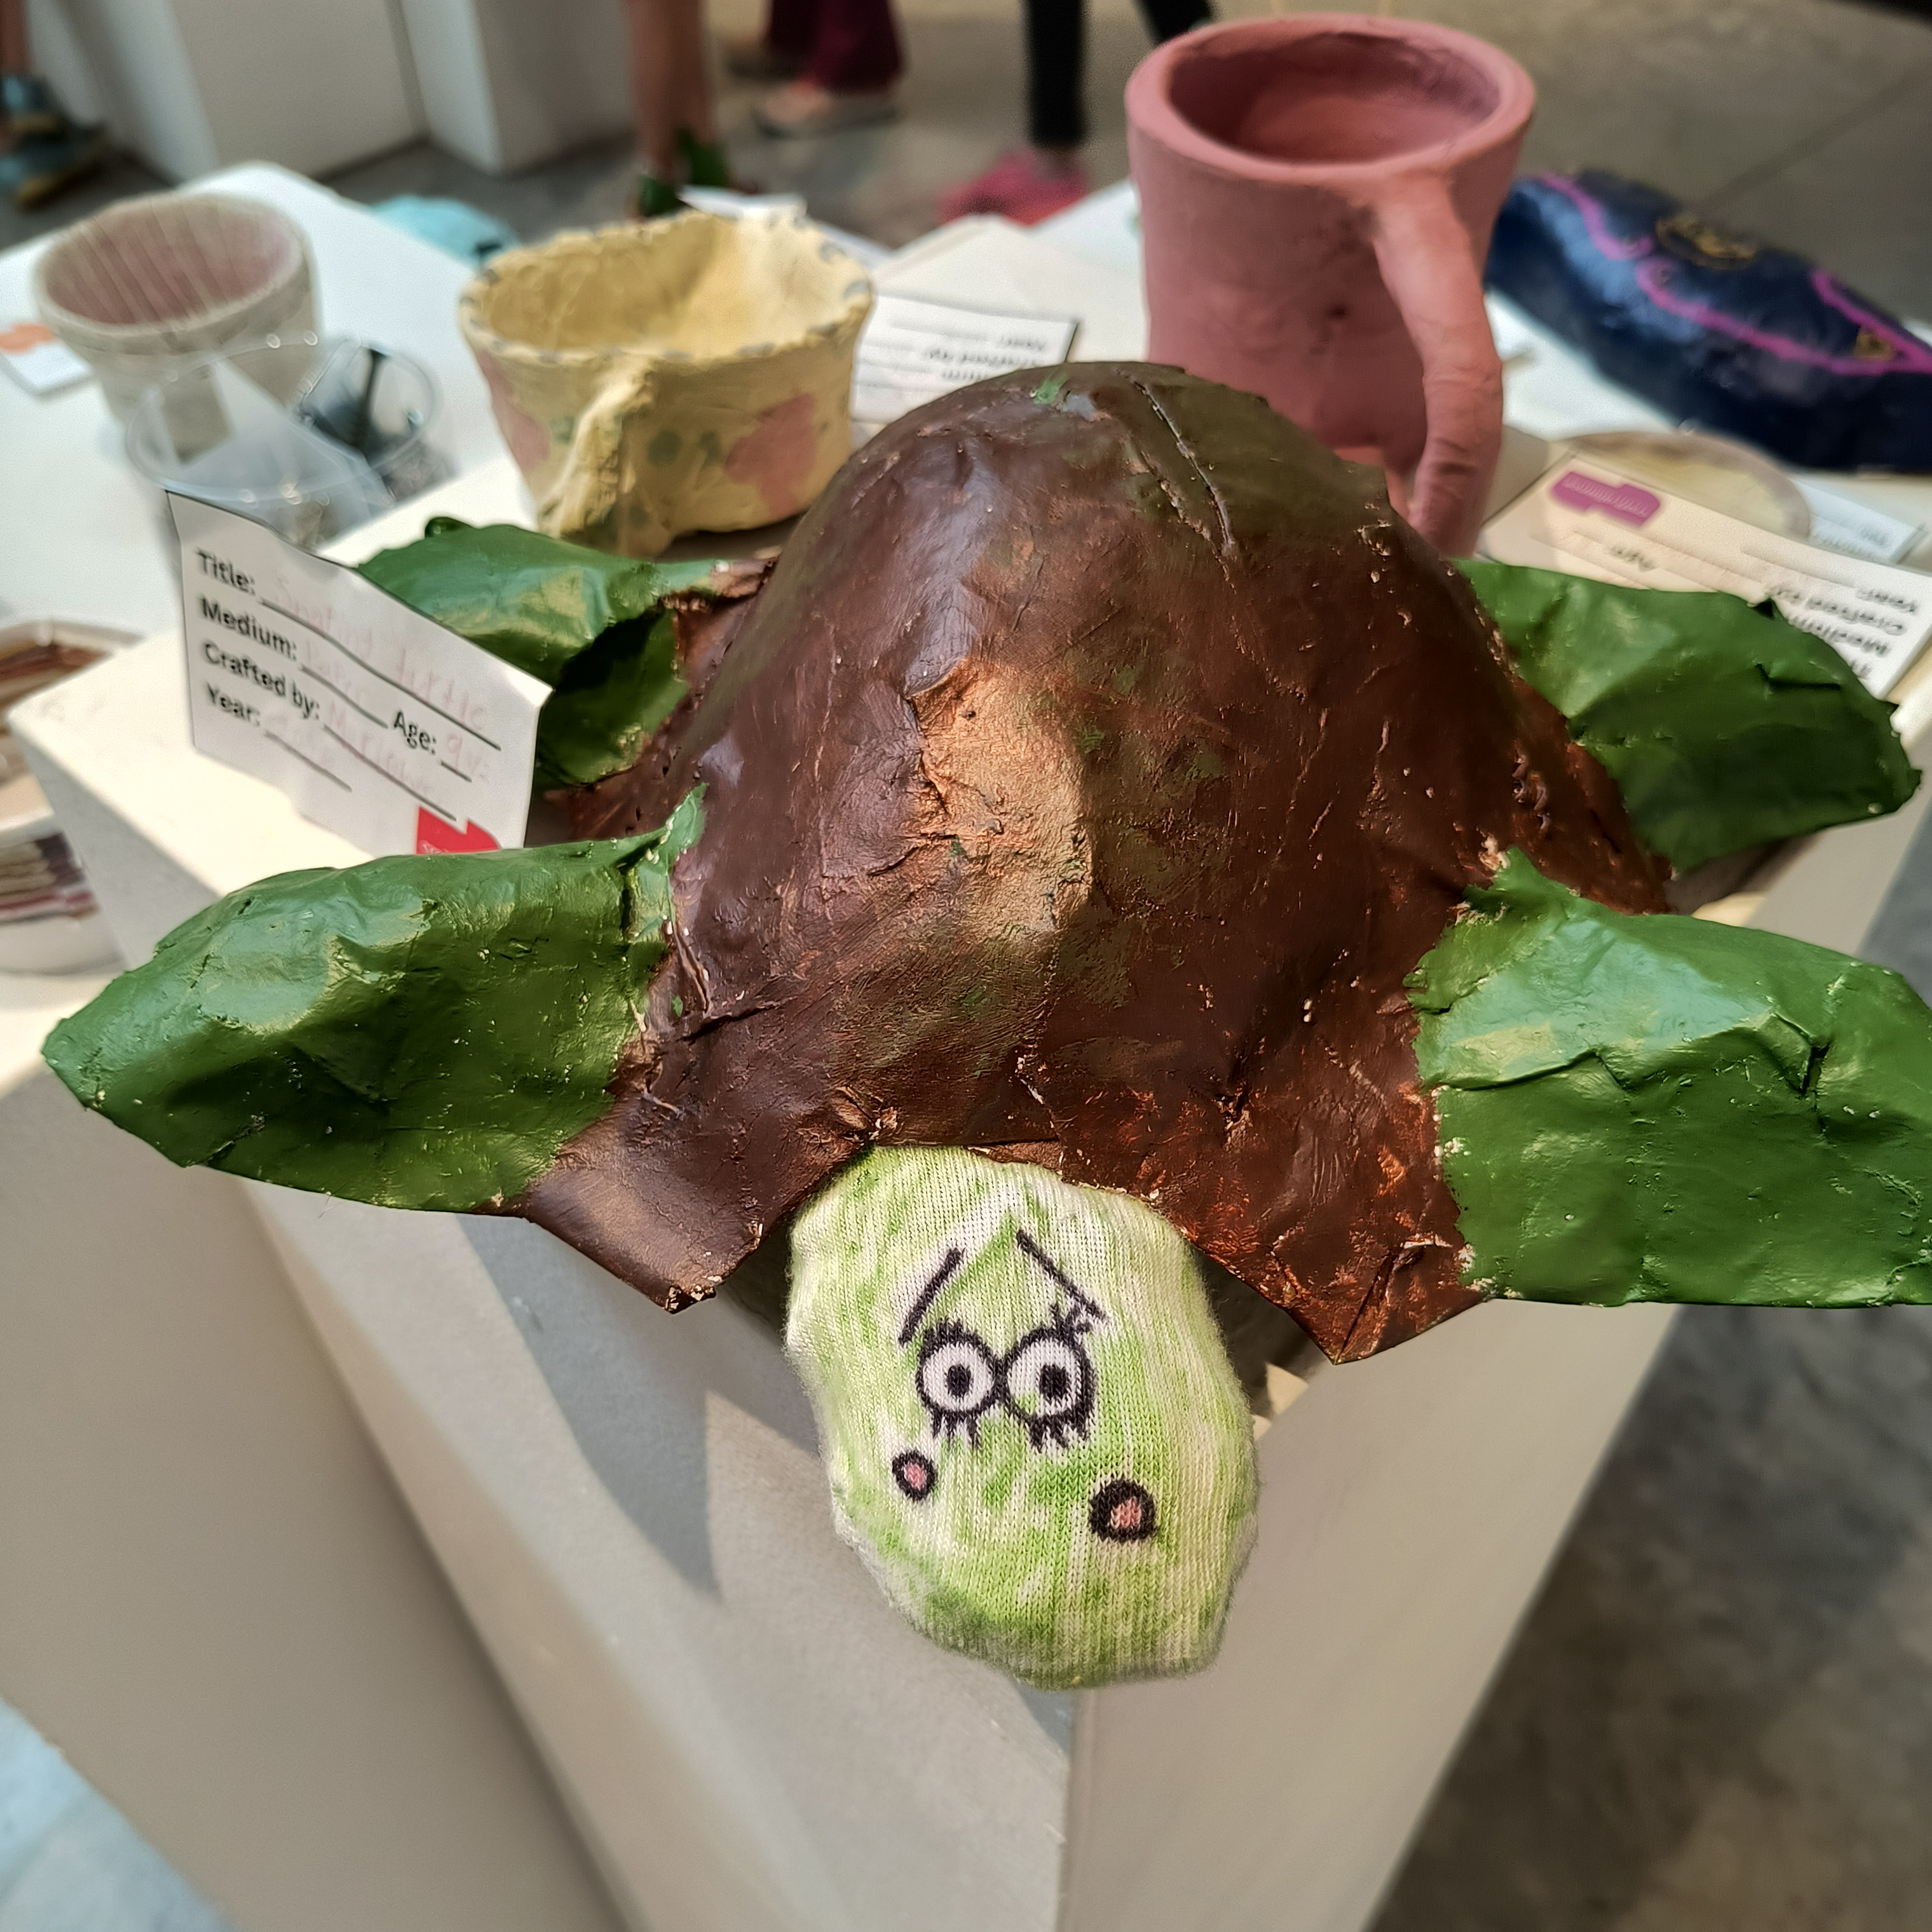
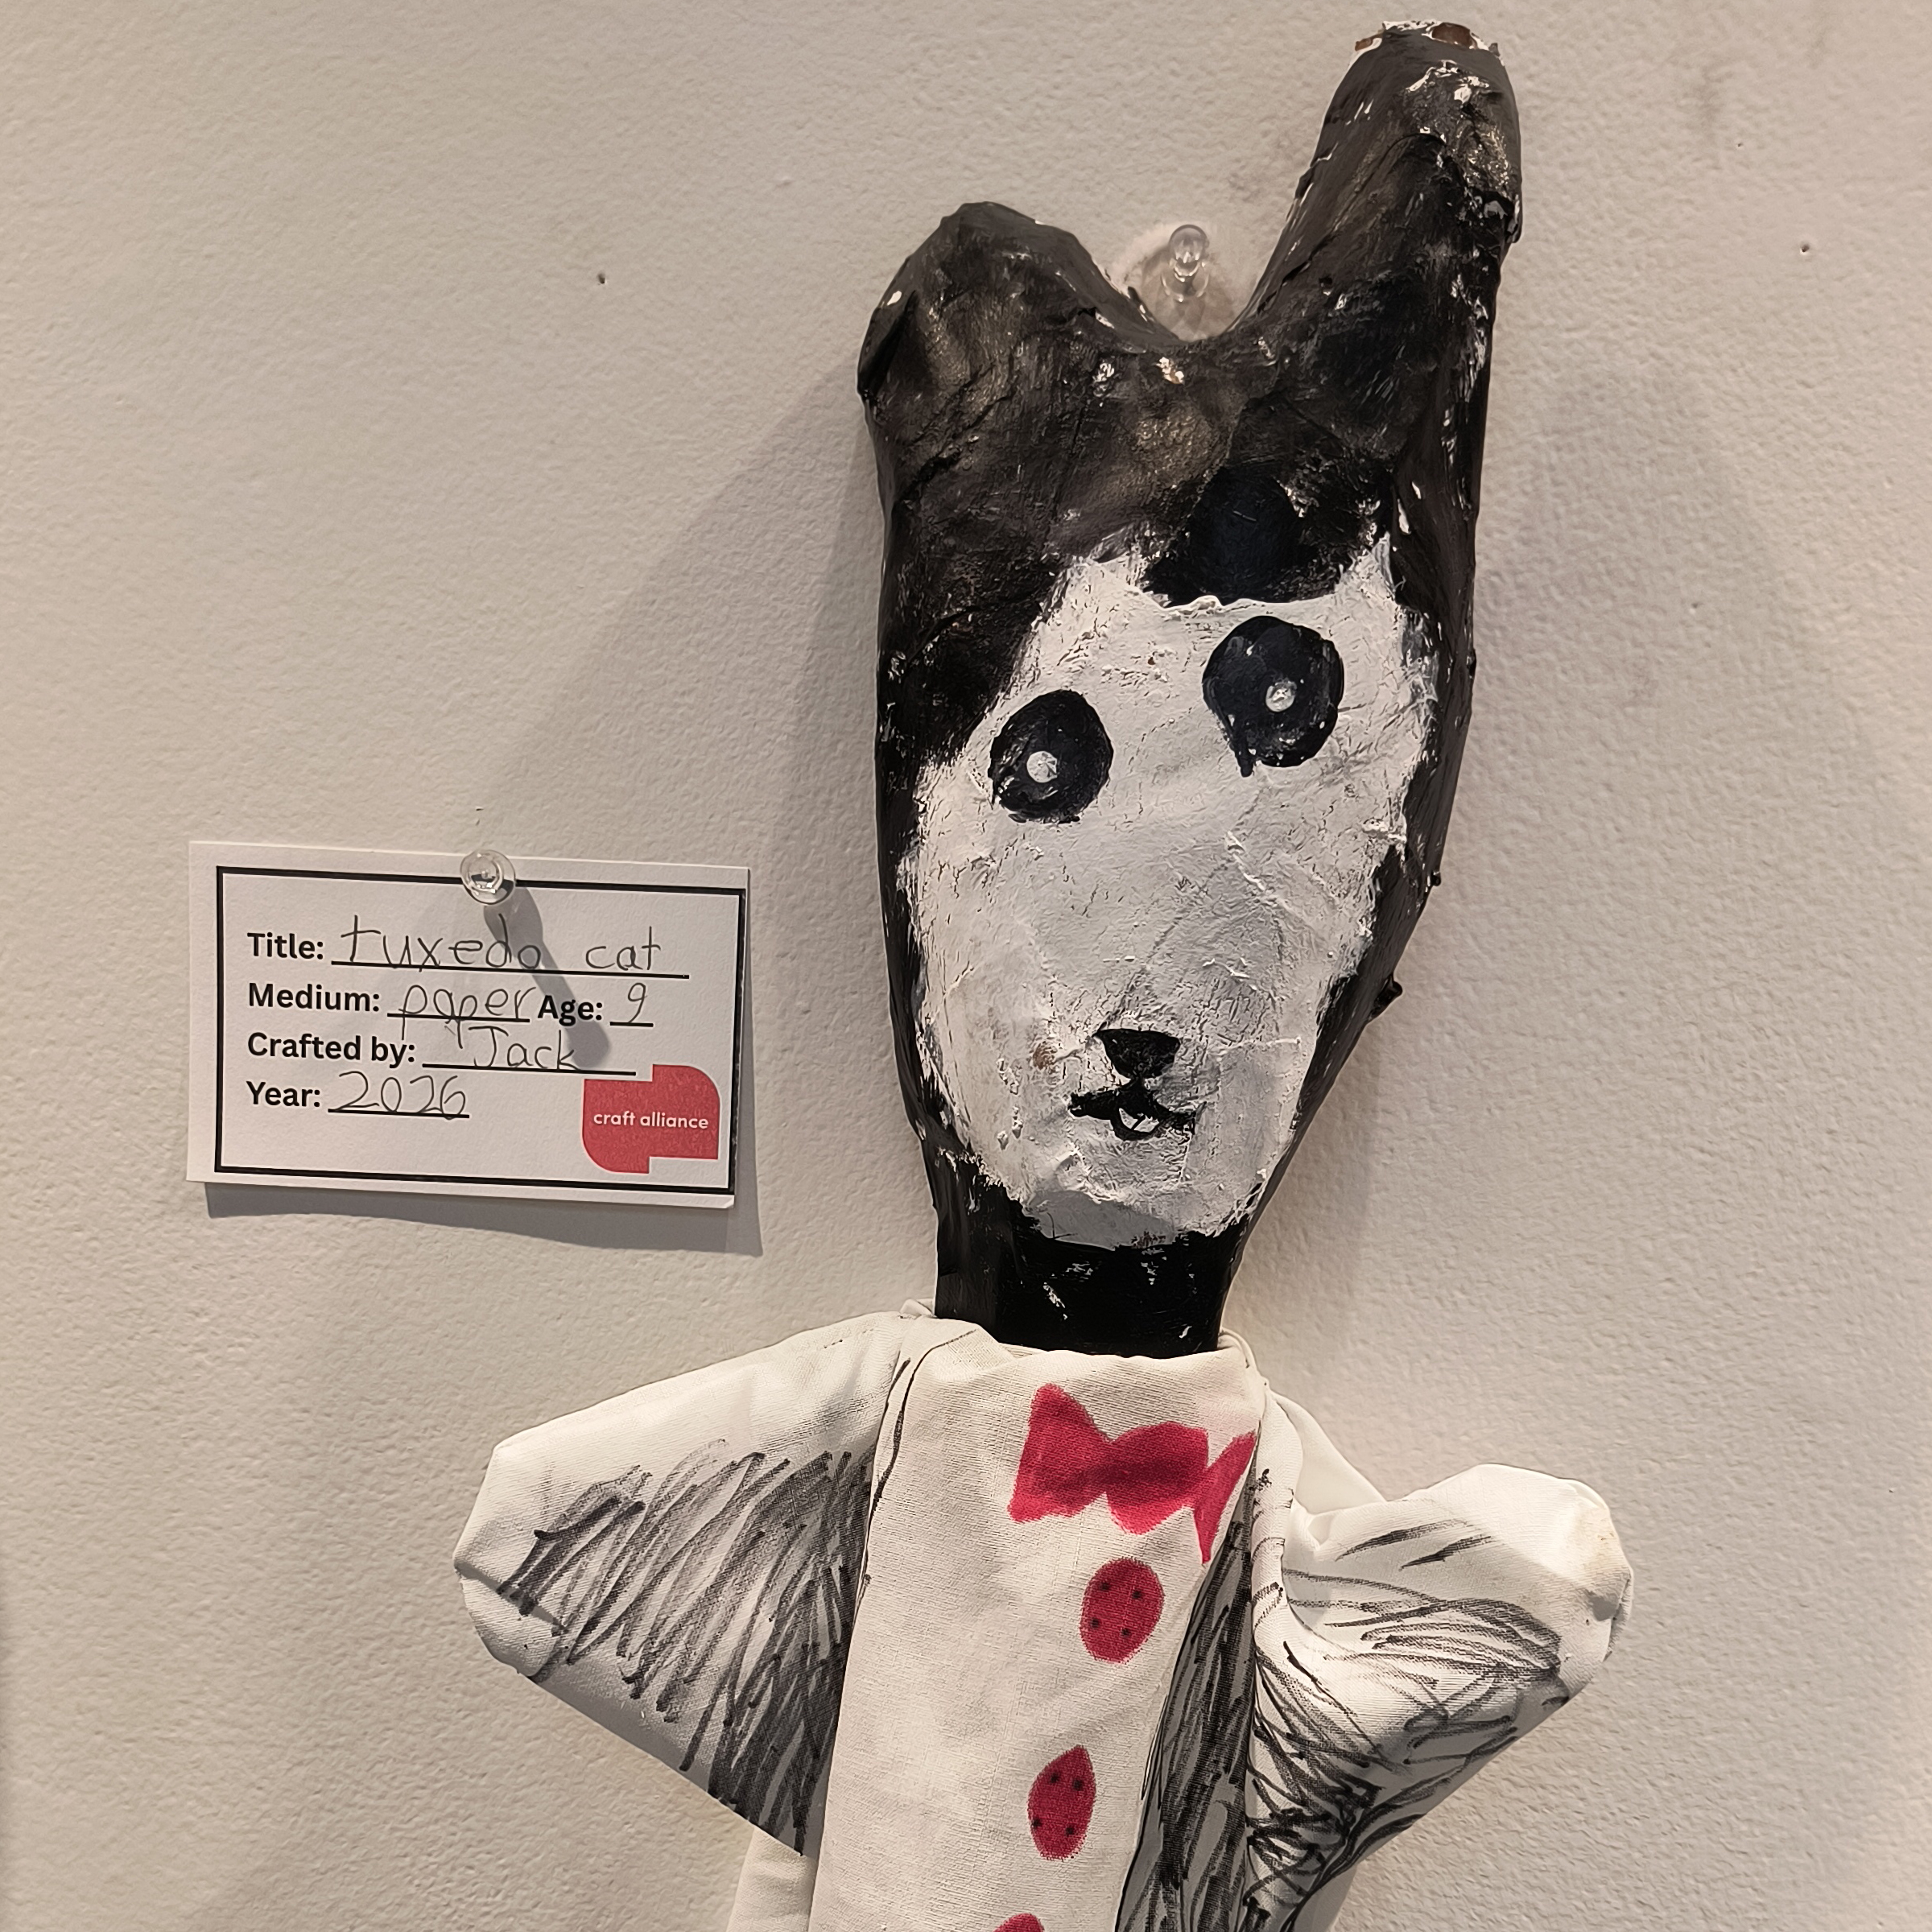
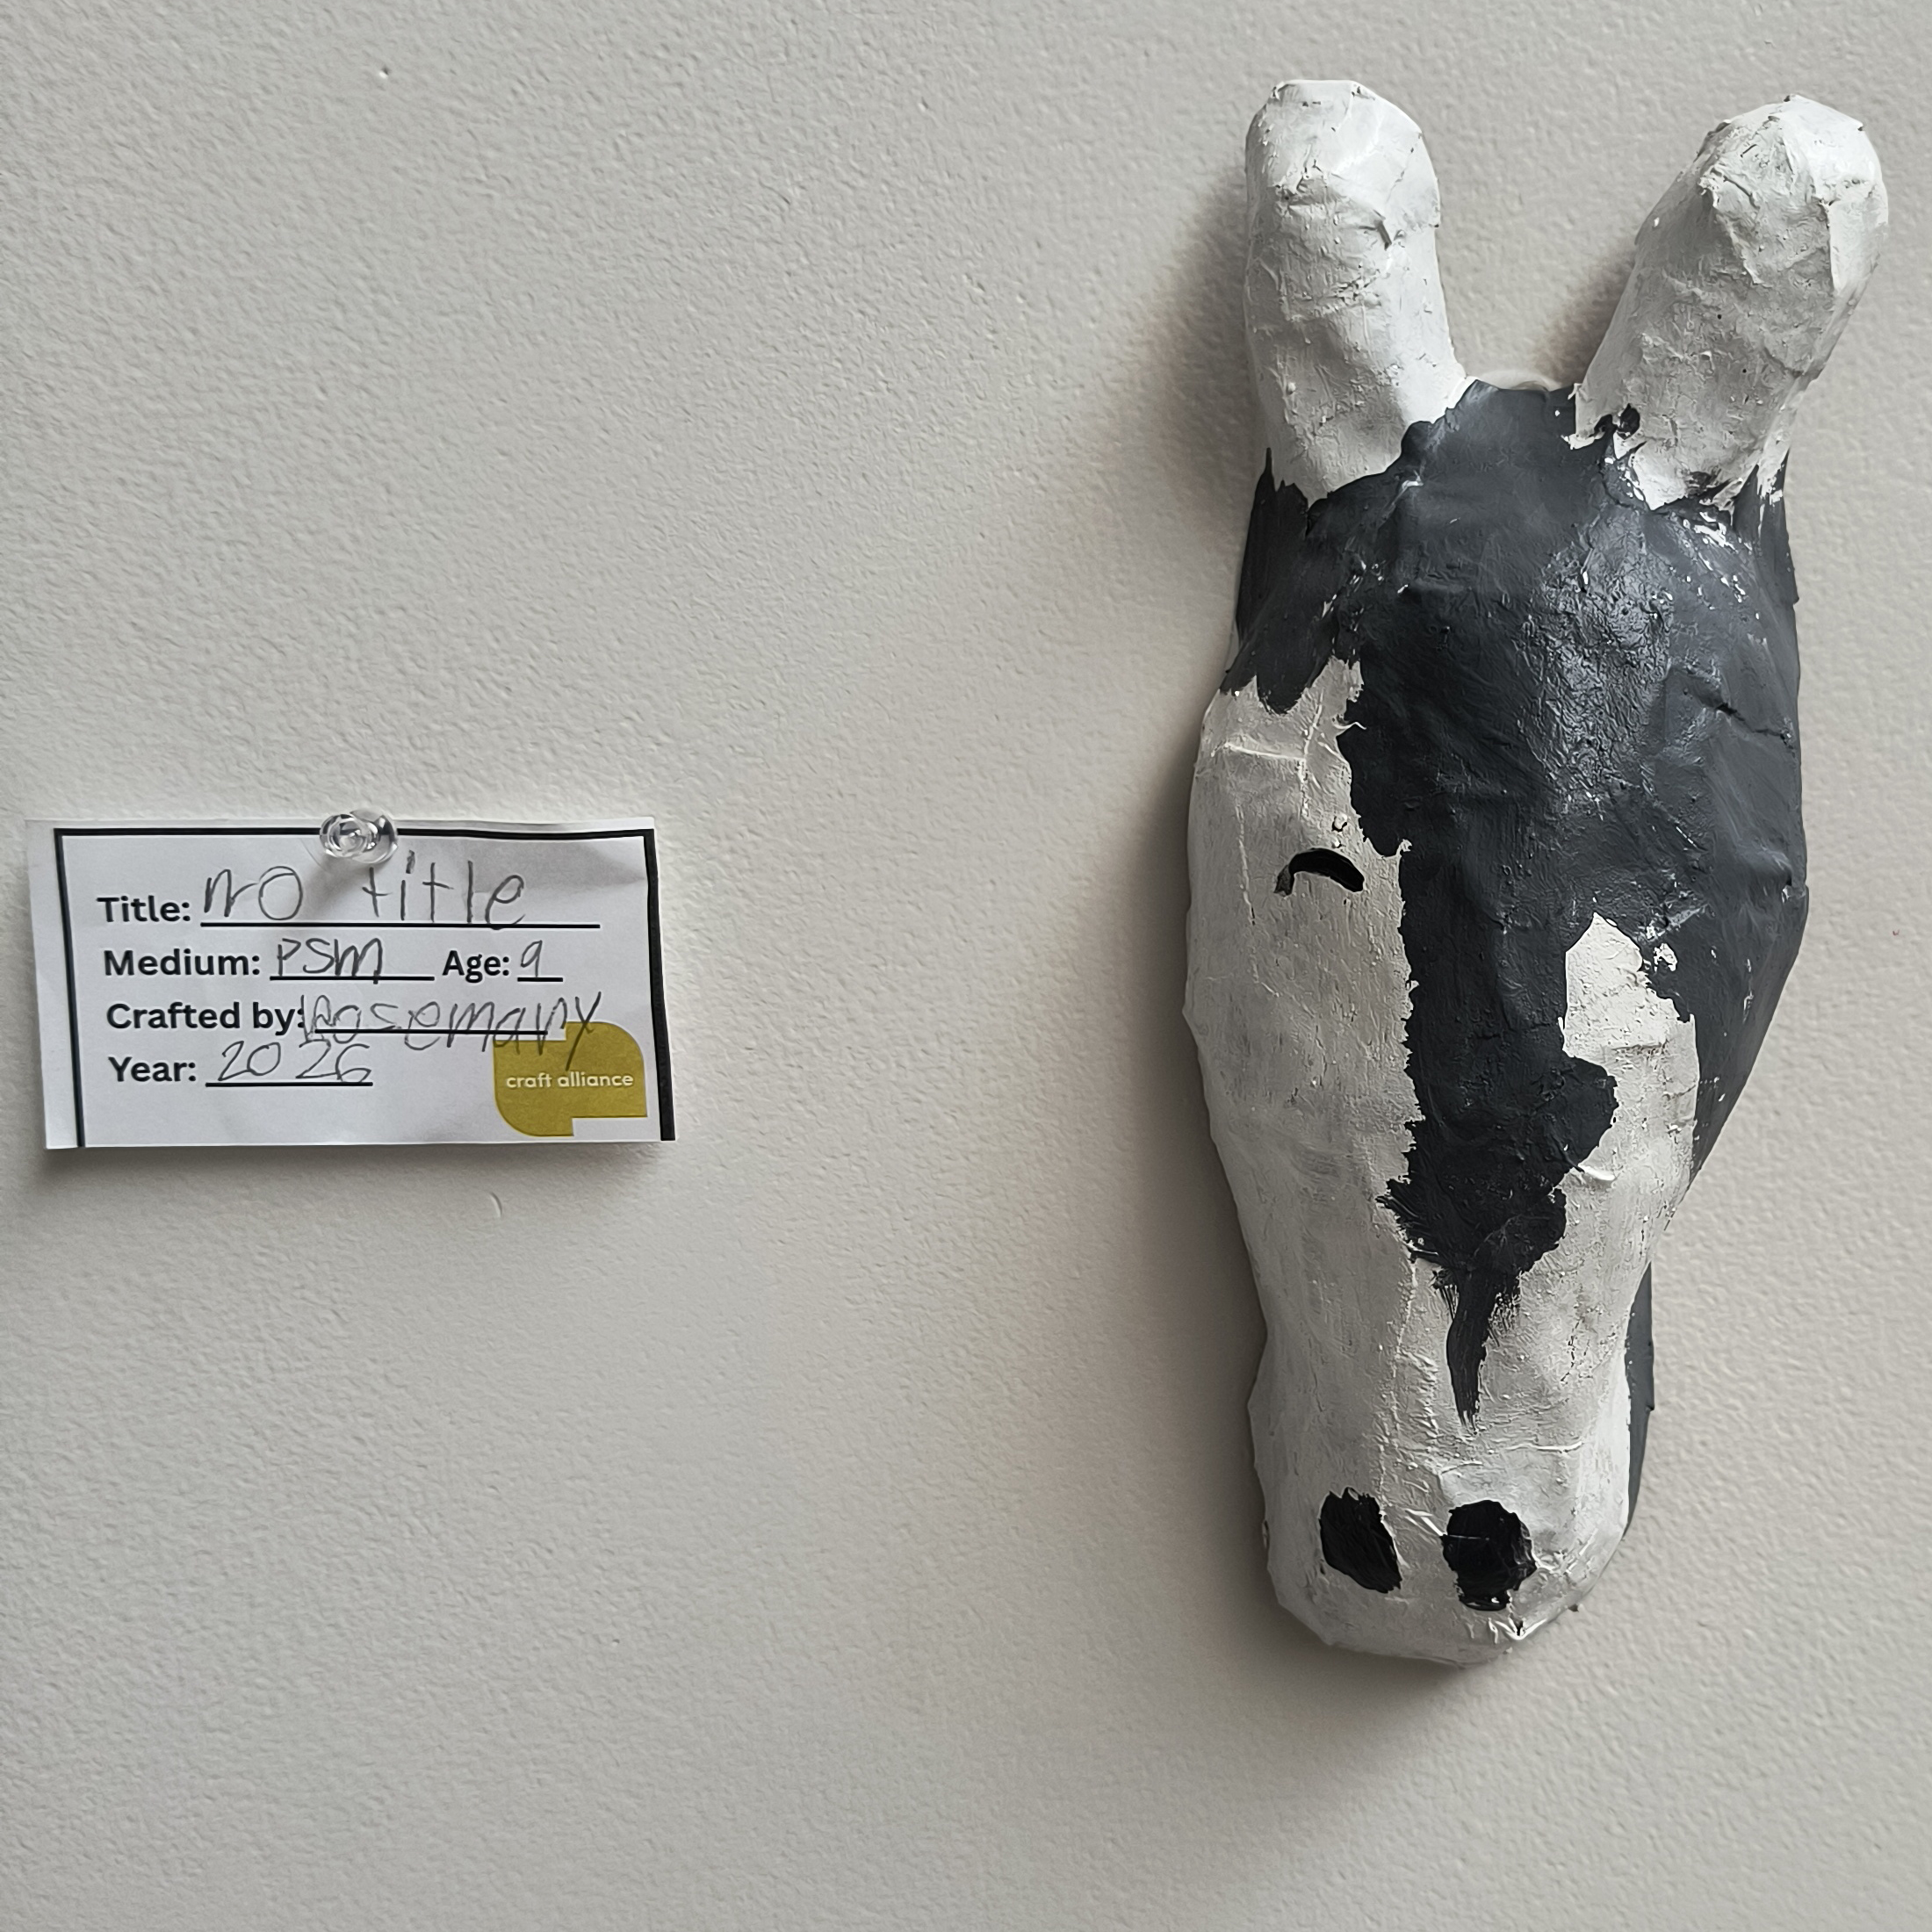
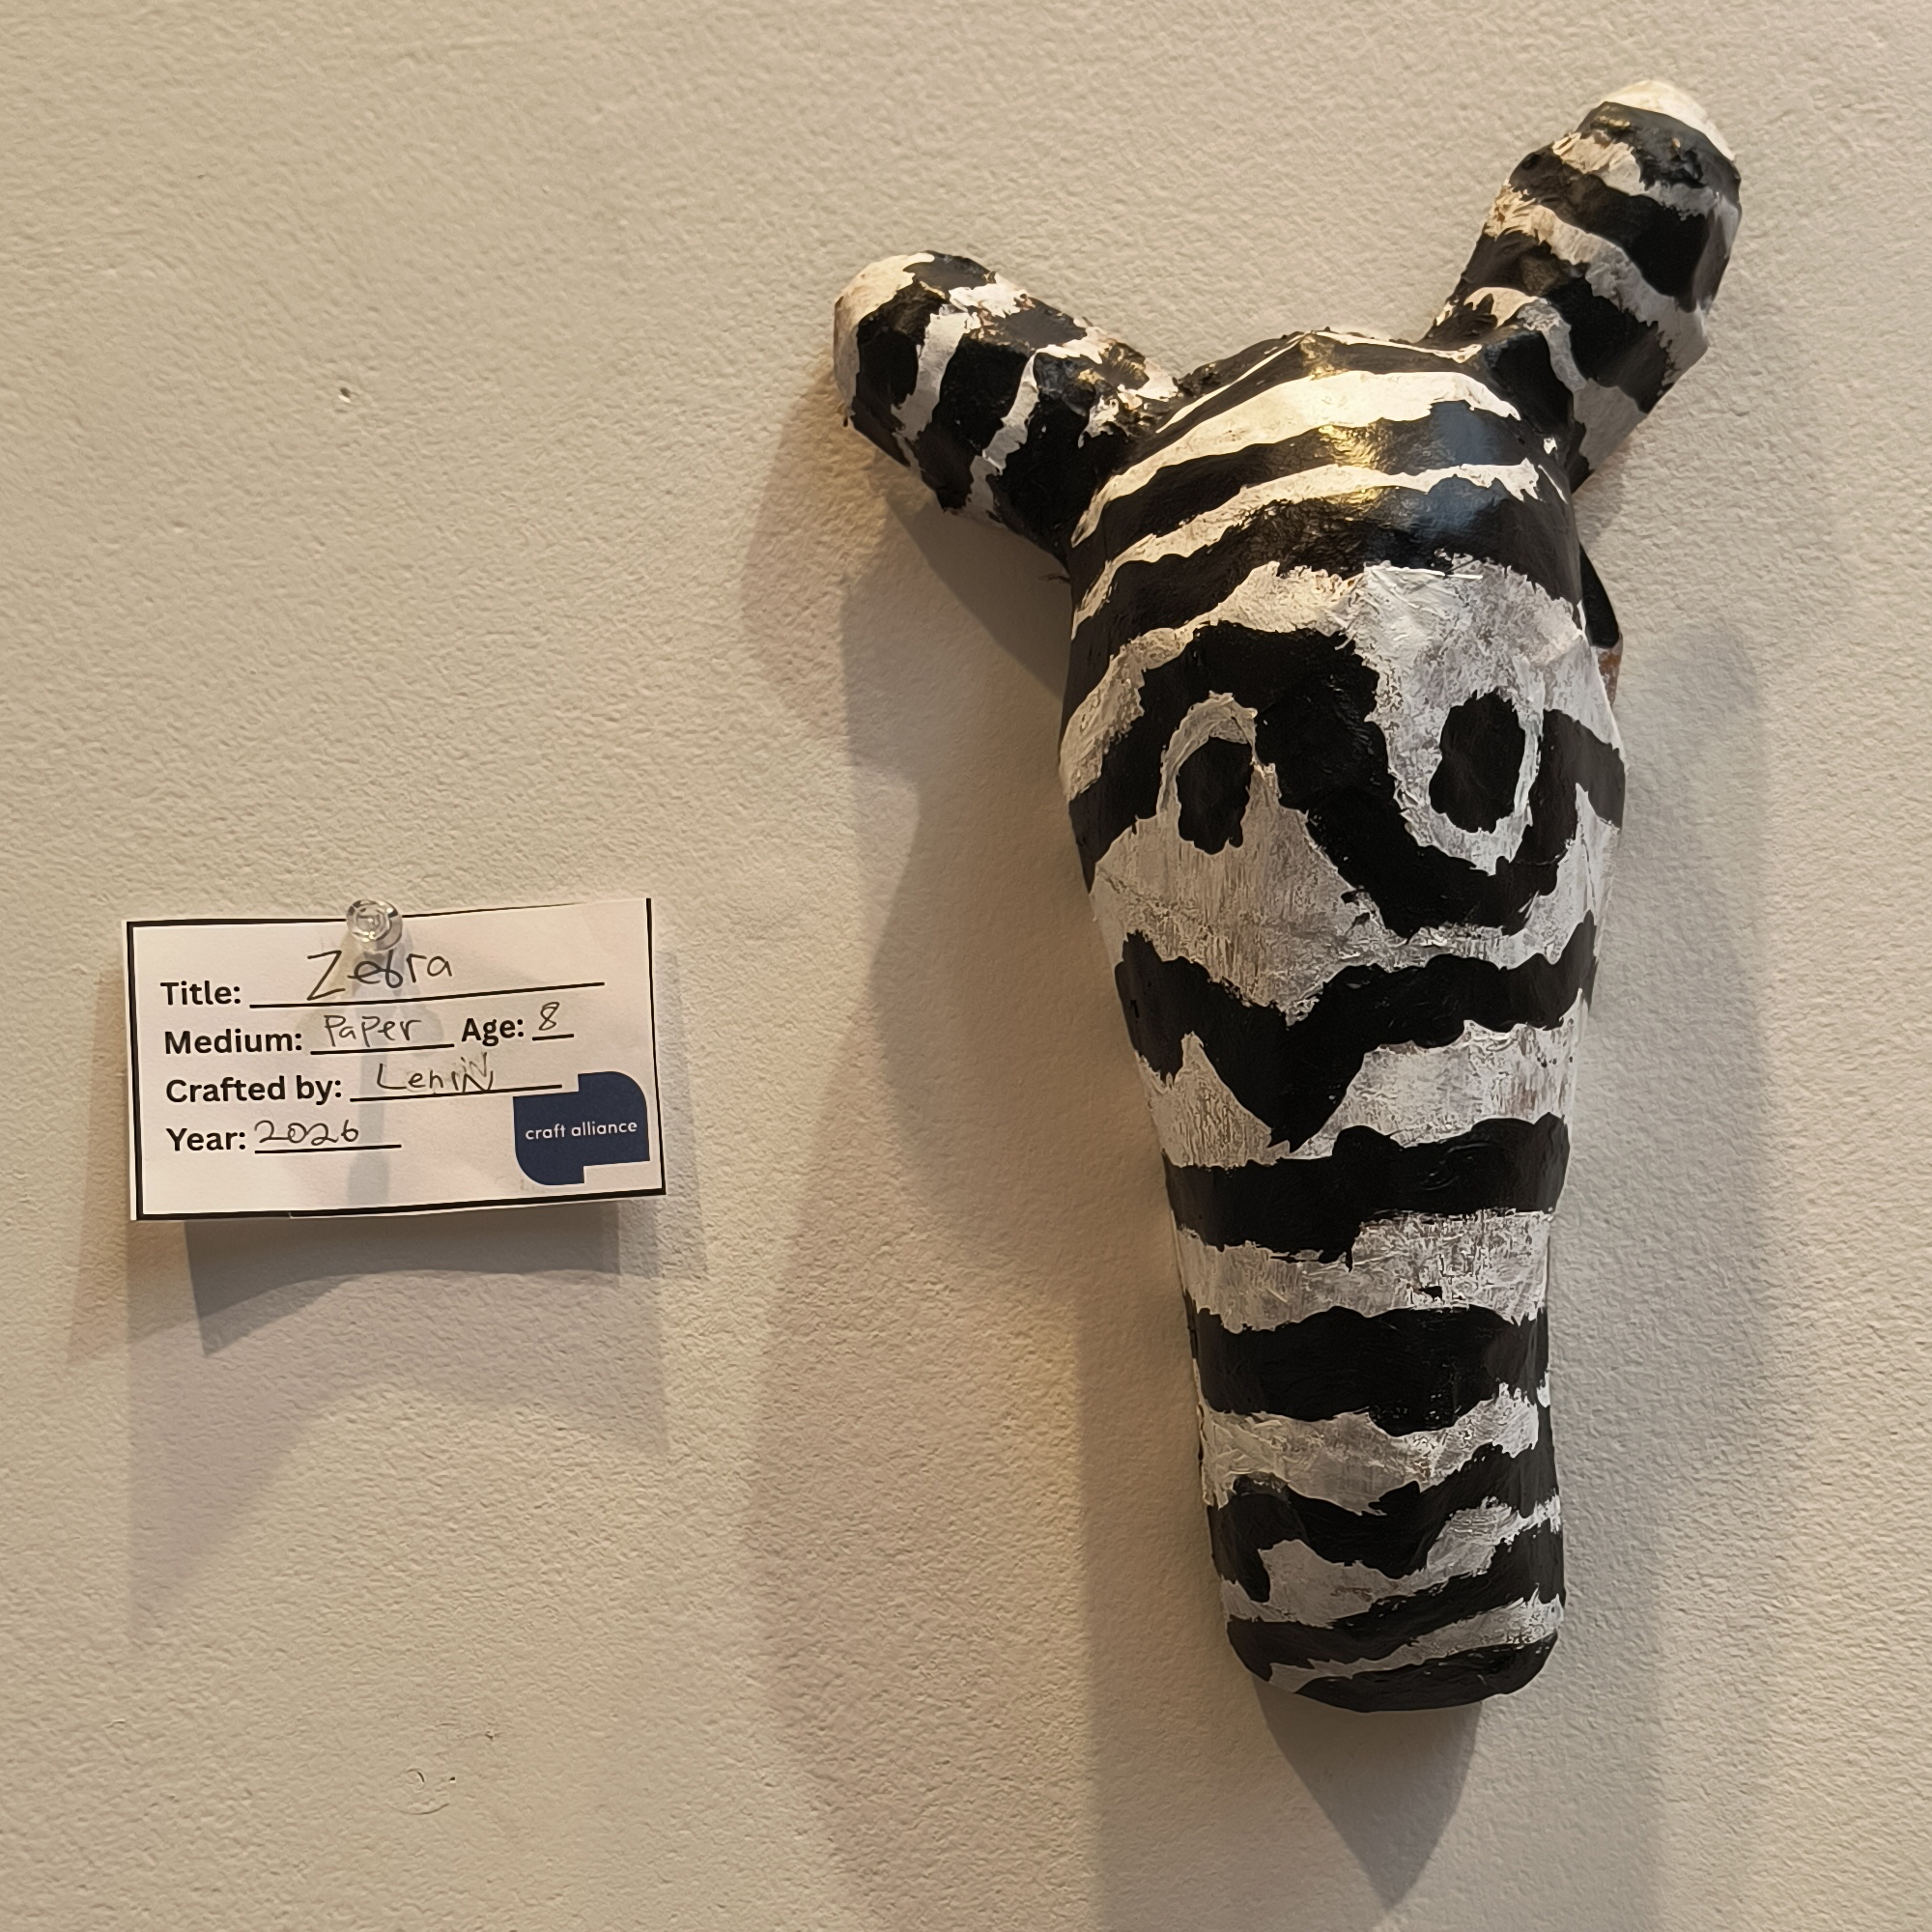
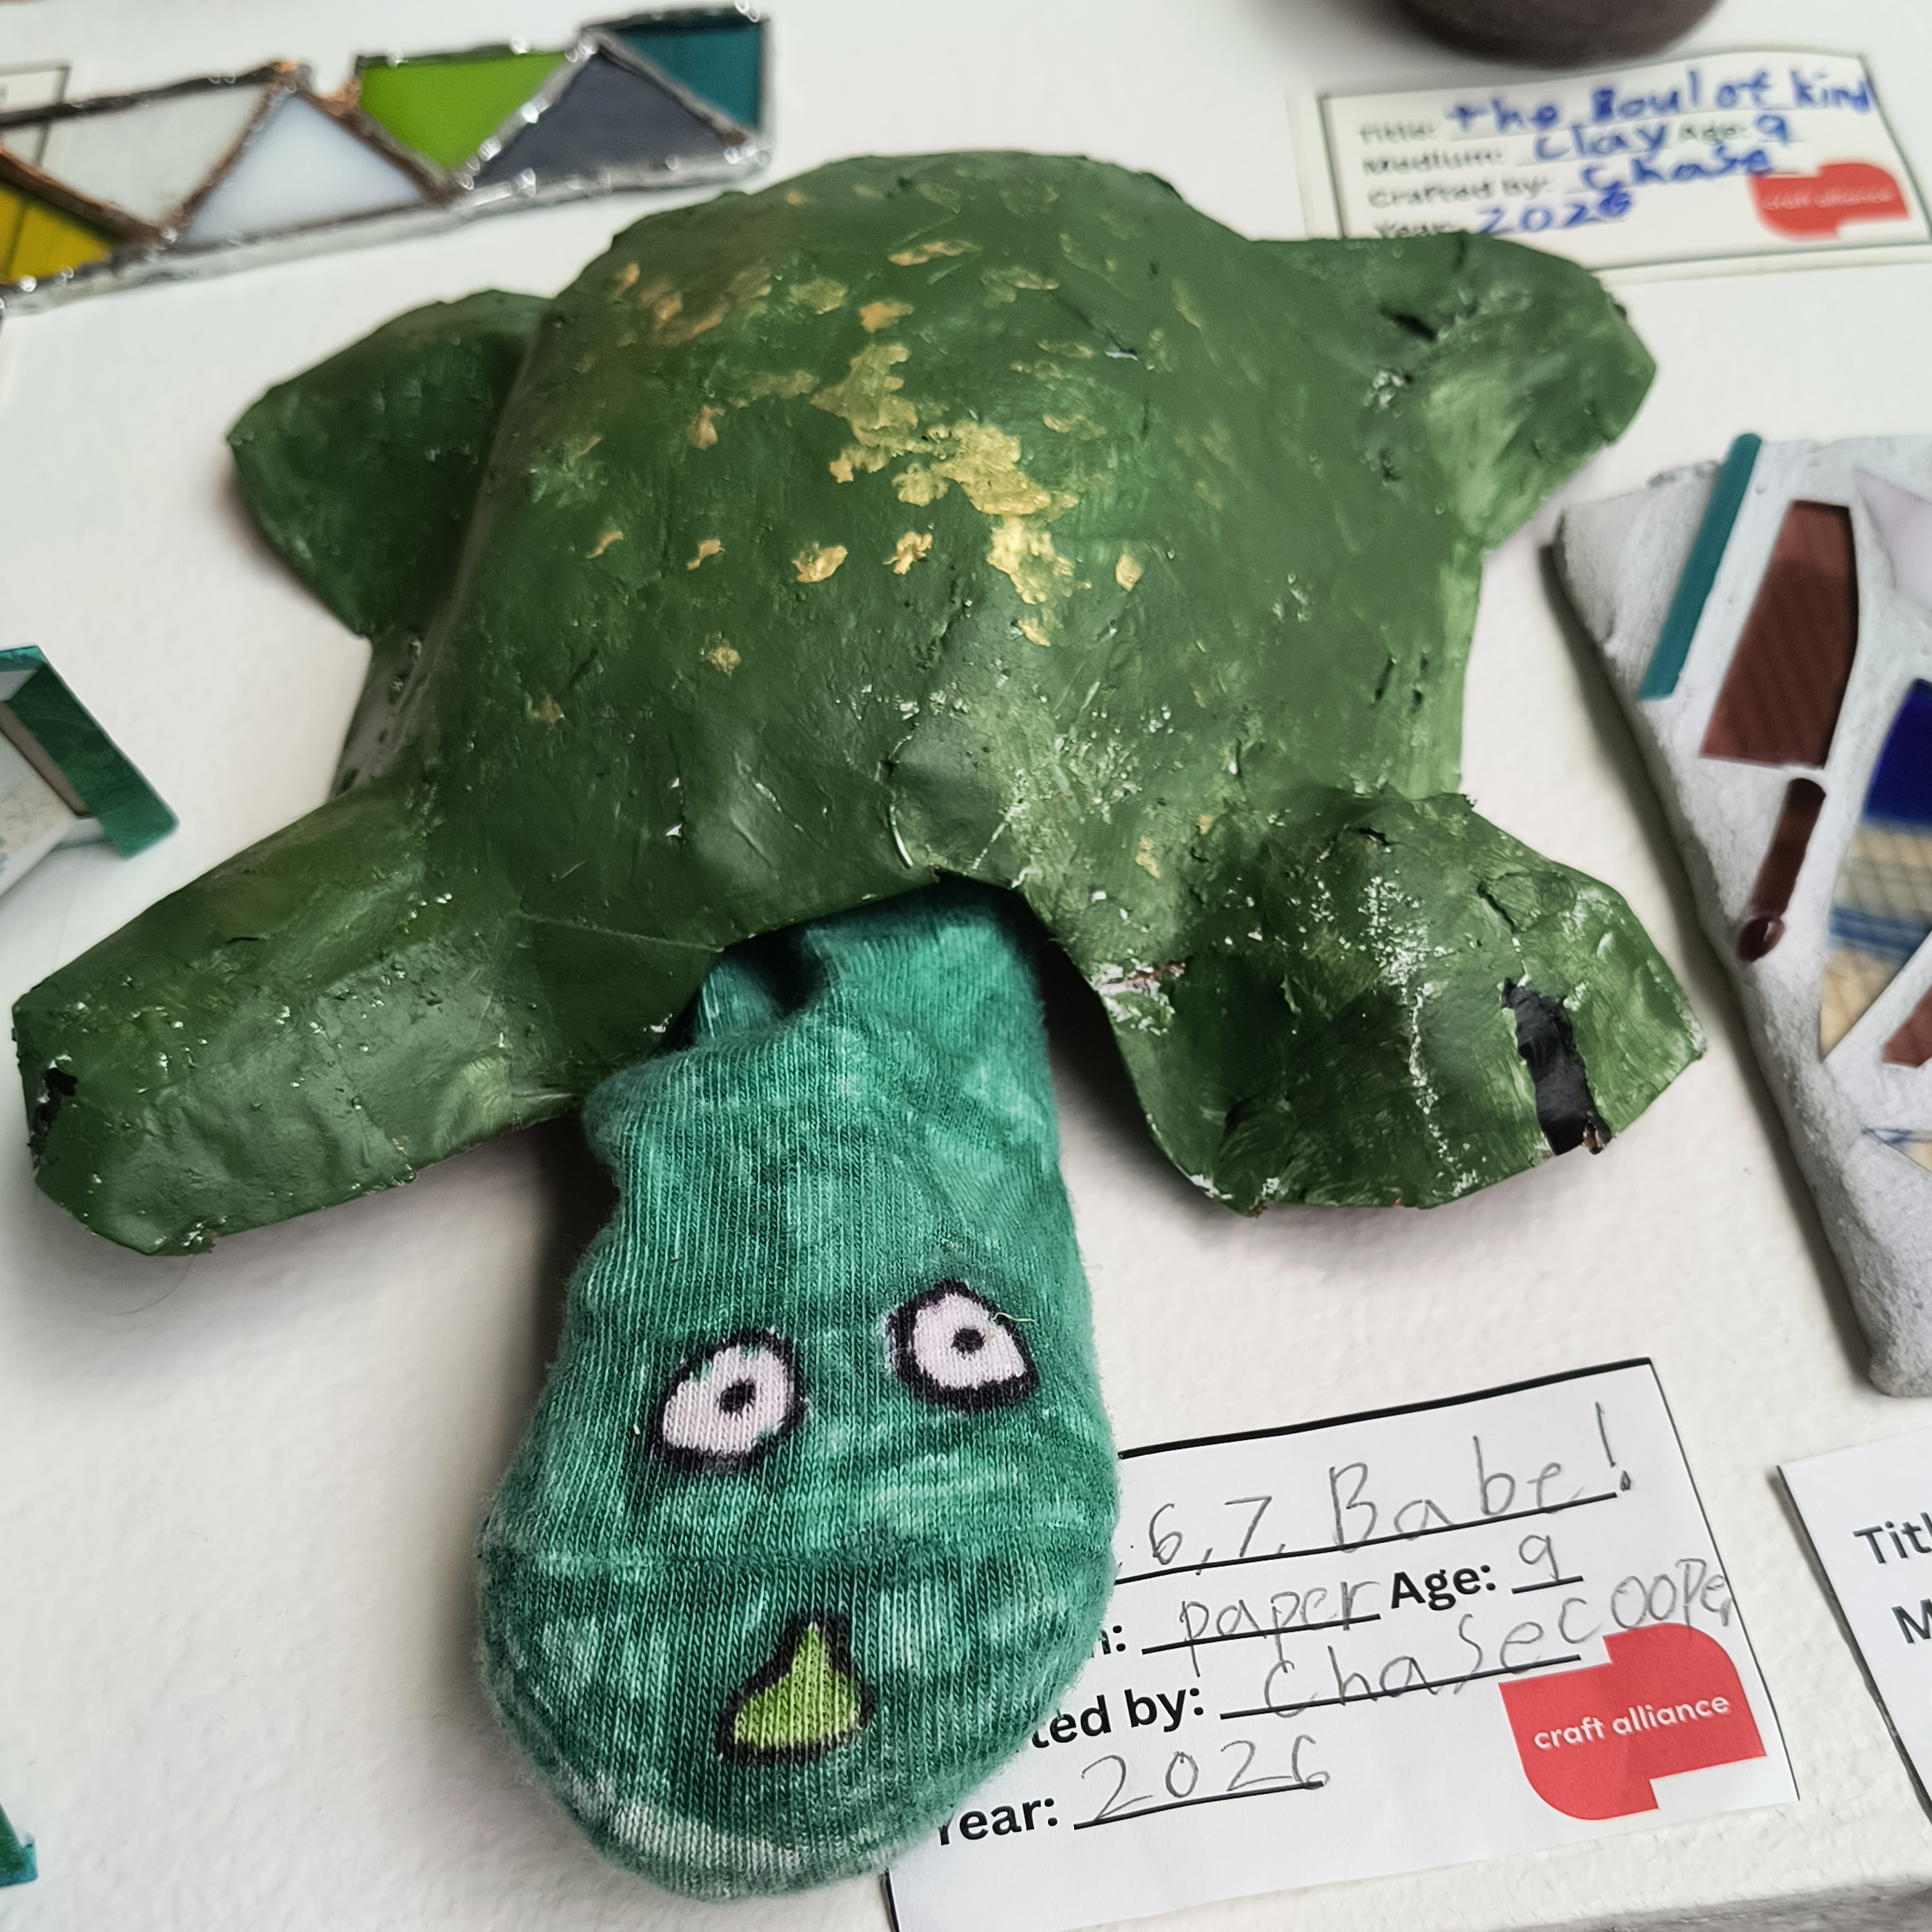
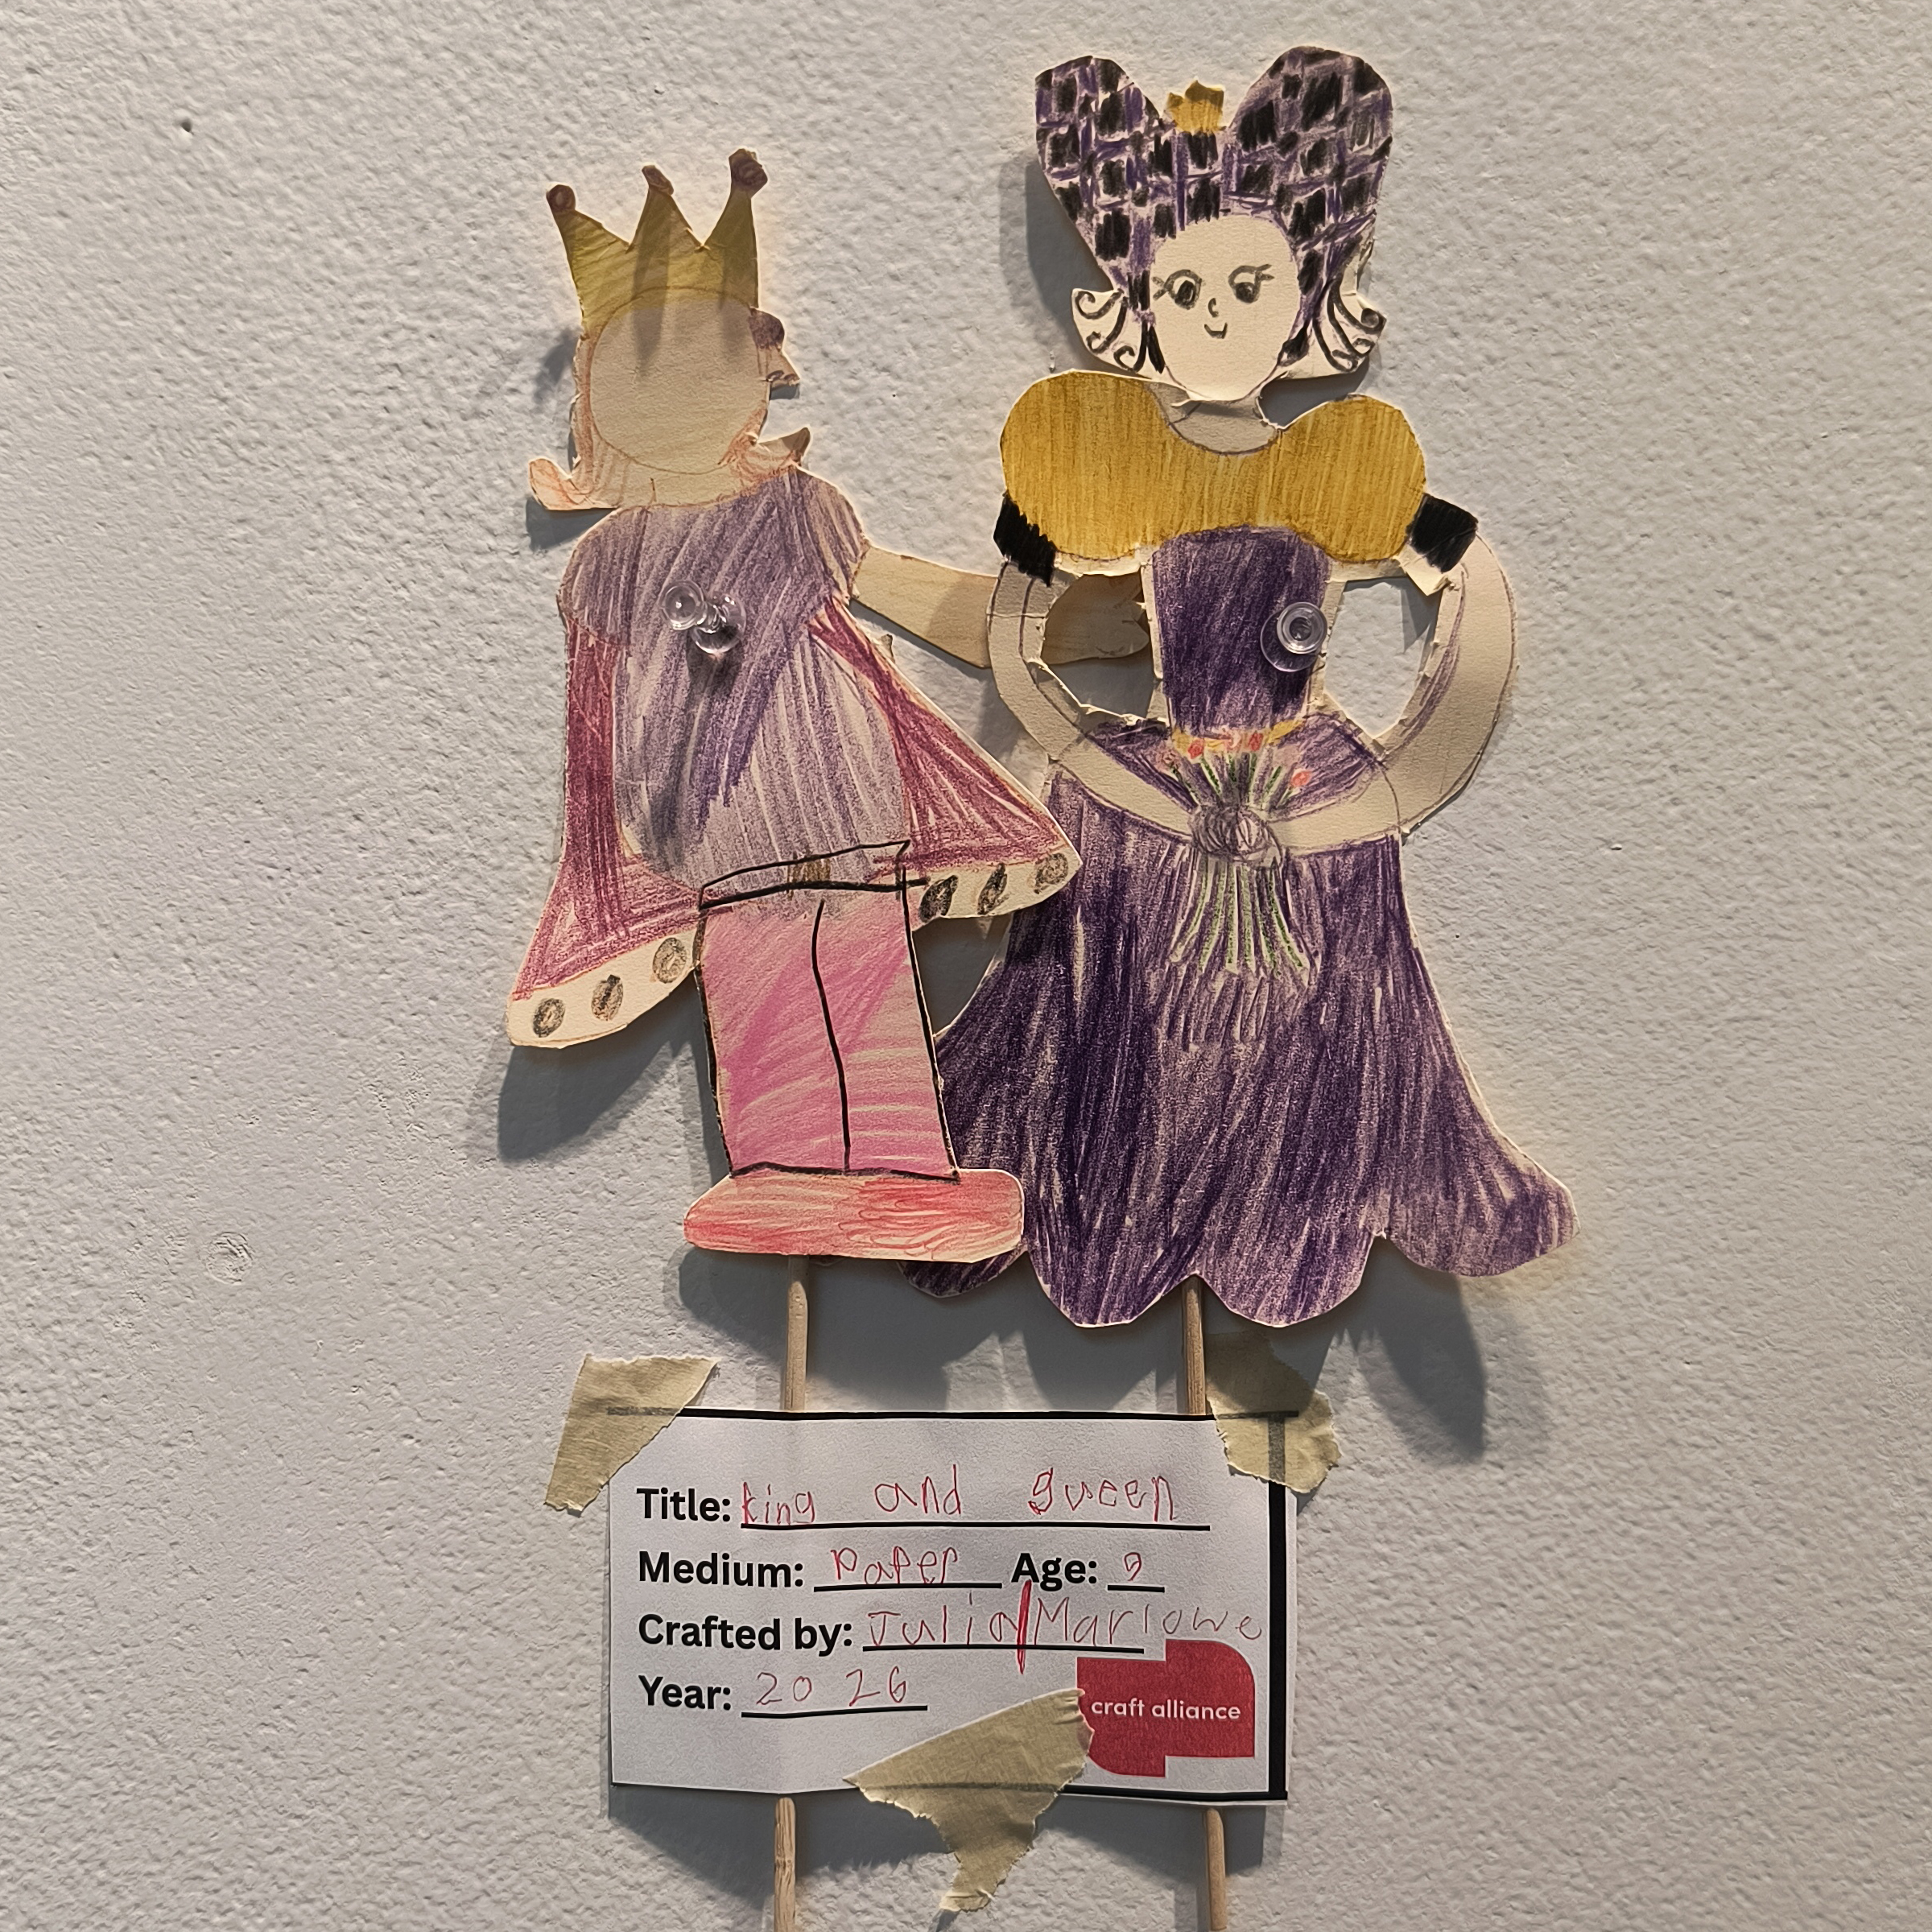




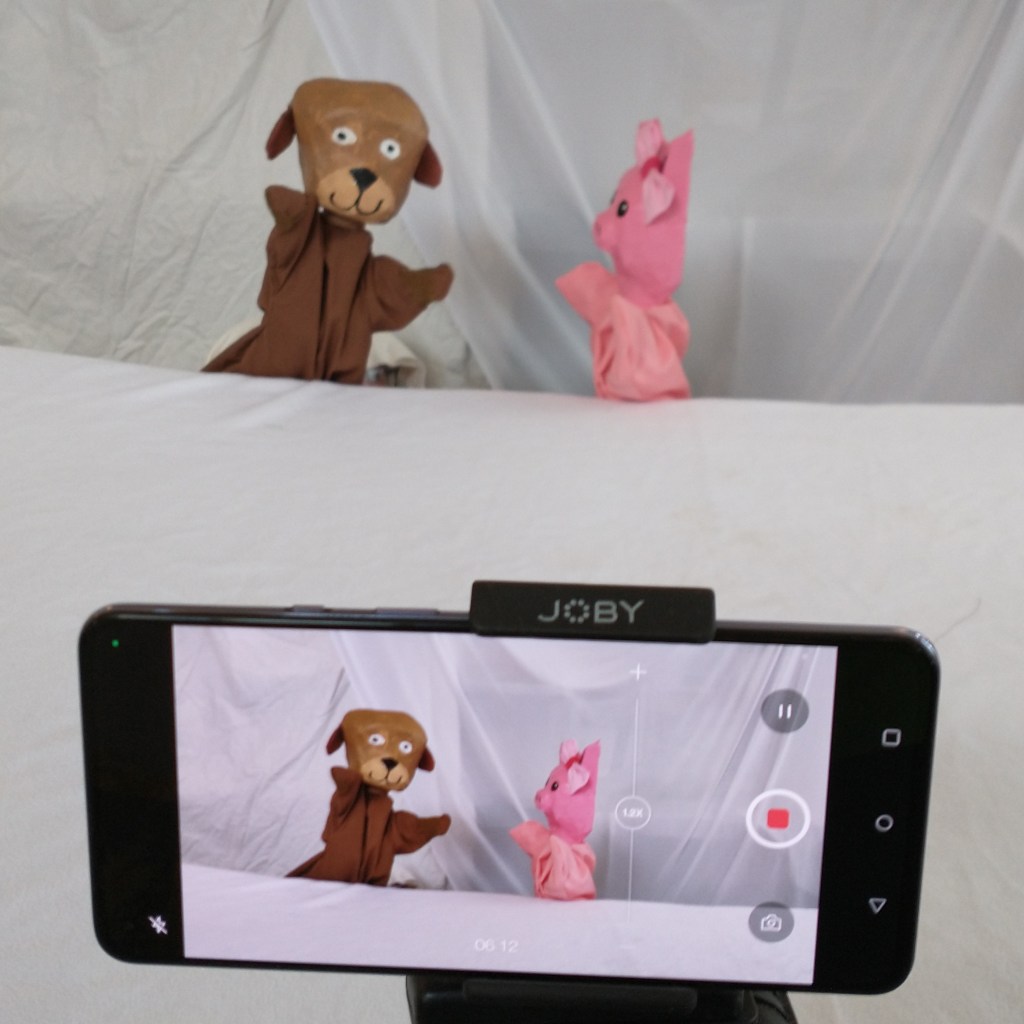
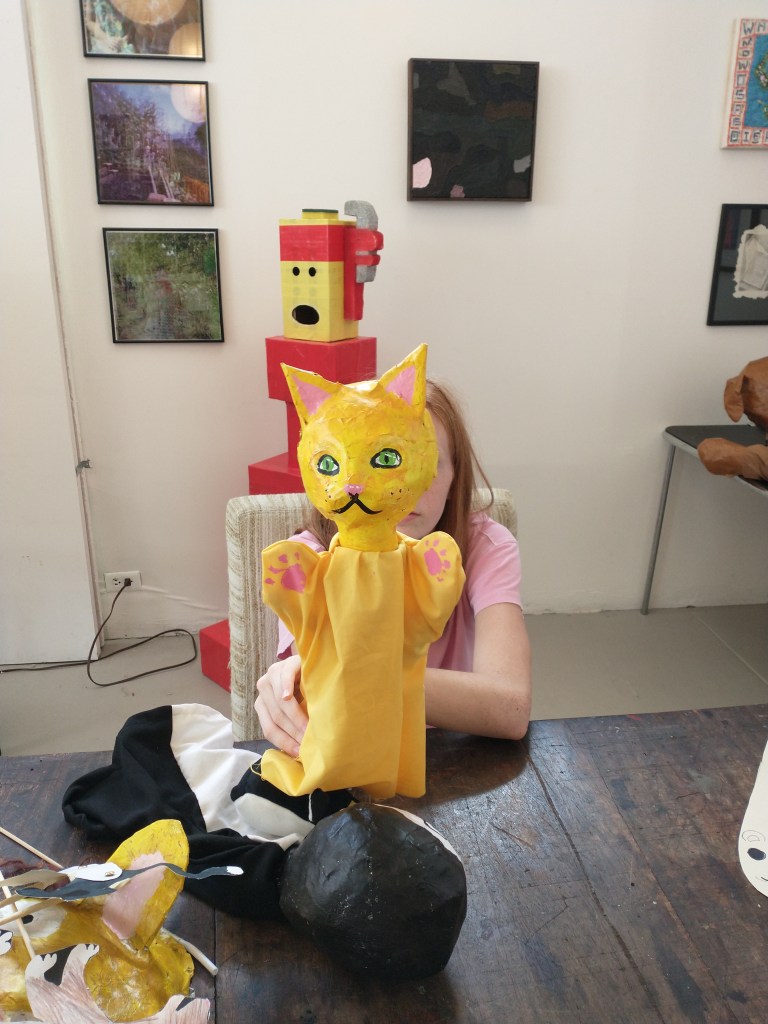
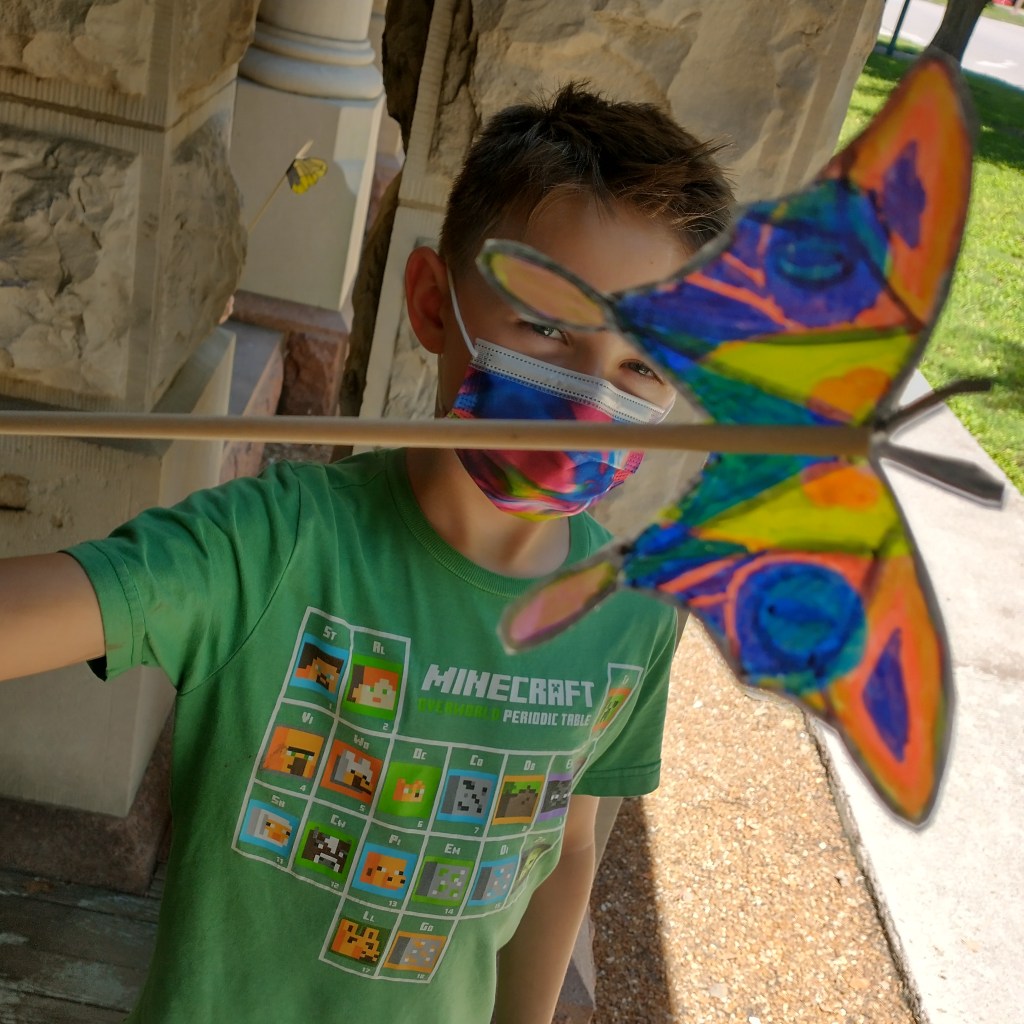
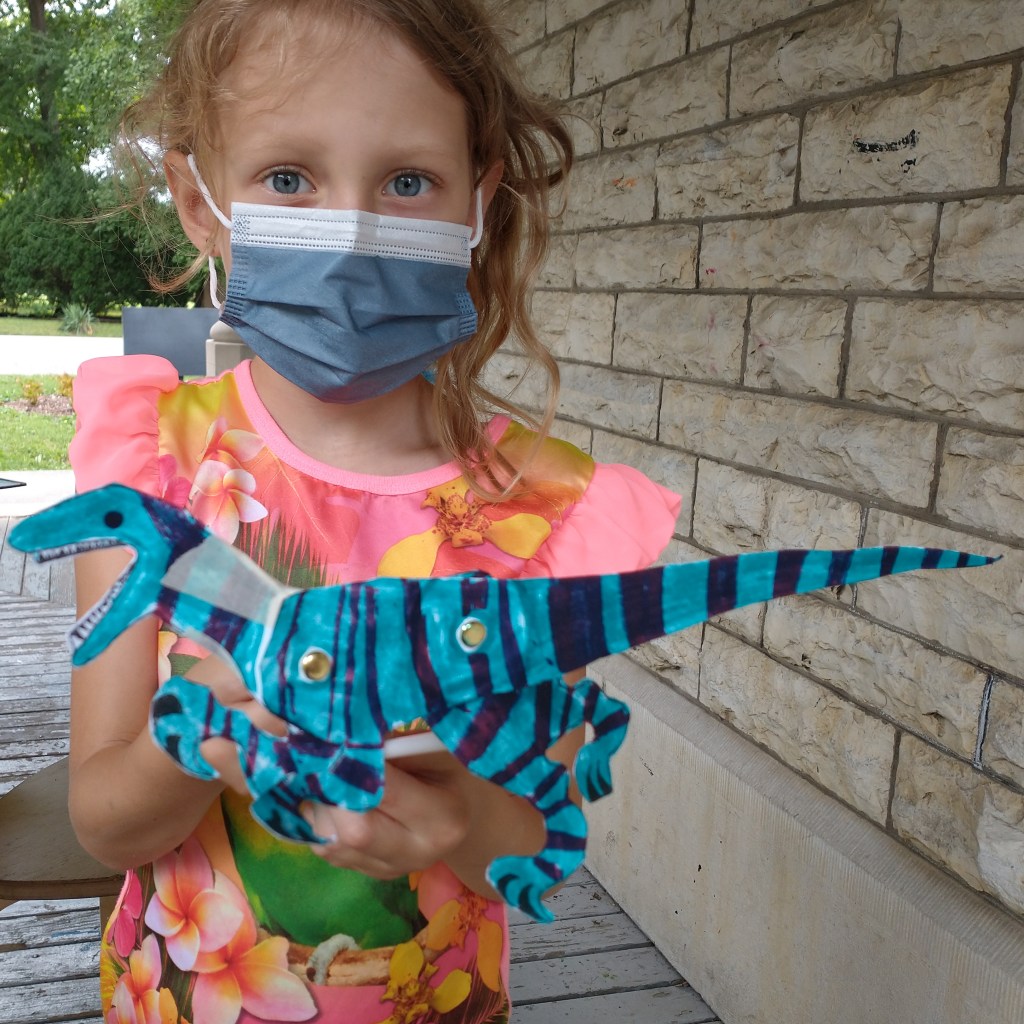
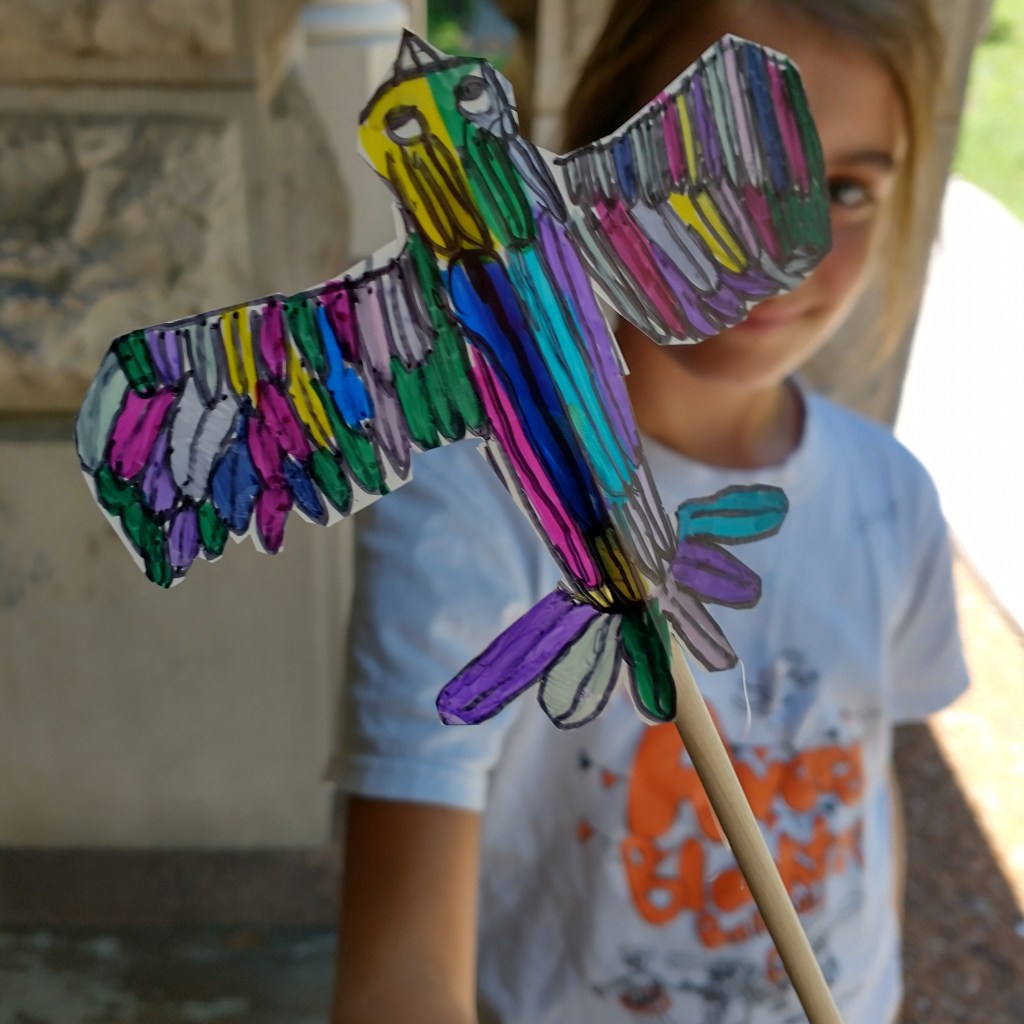
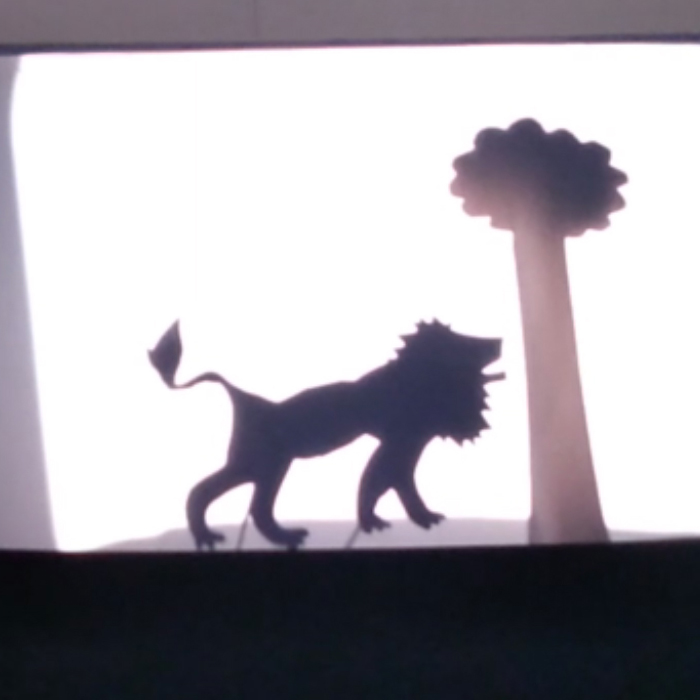
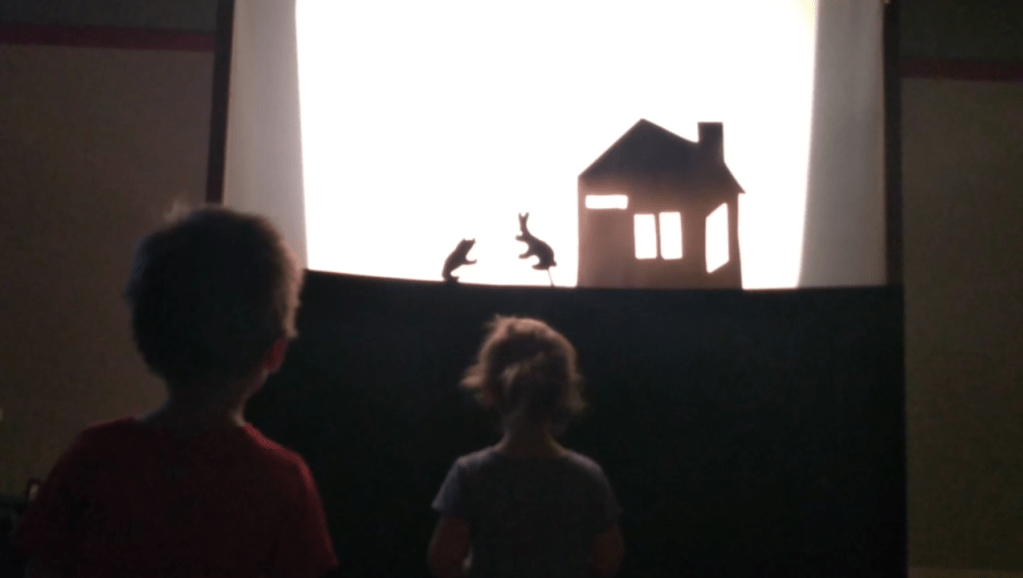
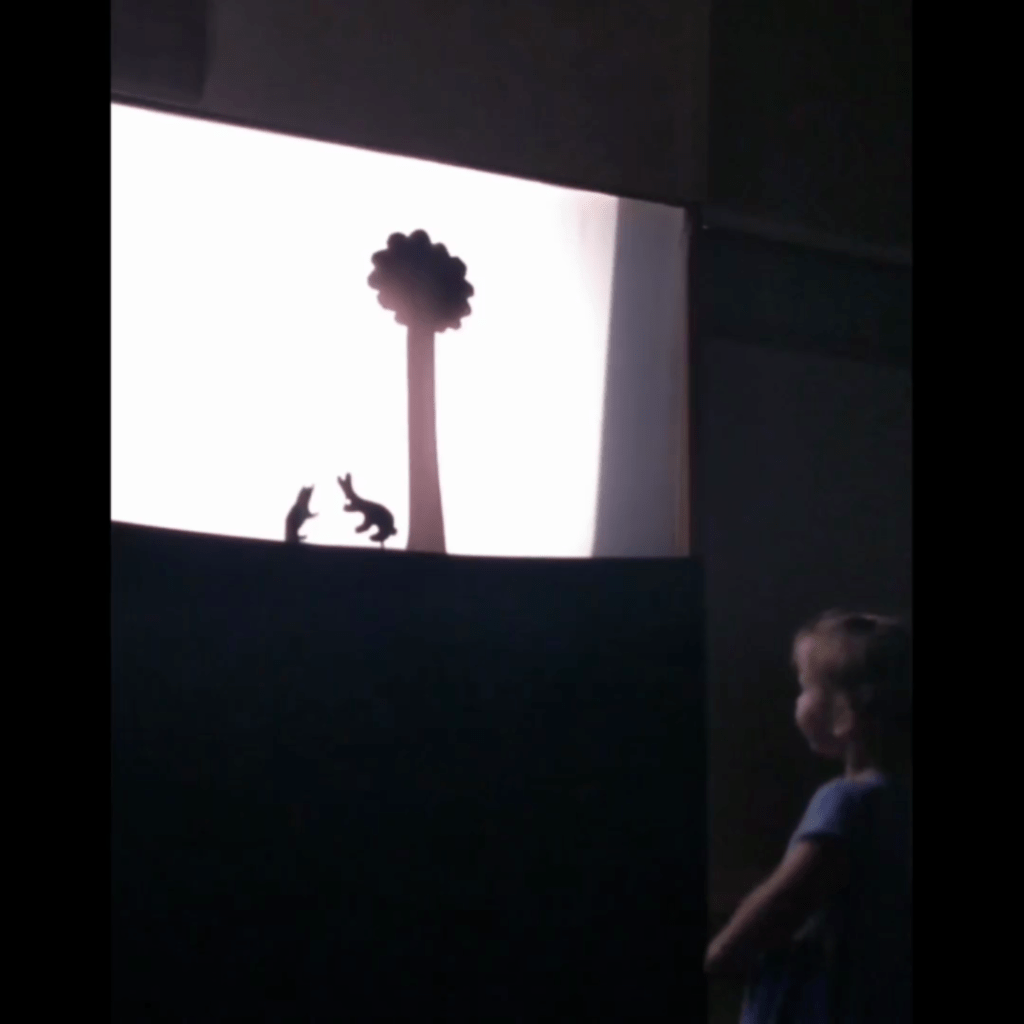


Although typical shadow puppets don’t always have color, these puppets look very good in full color. Markers or colored pencils are ideal, and depending on what choices you make, one puppet can turn out many different and creative ways.
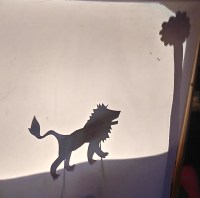
In appearance shadow puppets resemble silhouettes, and are fairly easy to make. Cereal box shadow puppets work surprisingly well, and cardstock is rather cheap especially if you can make two puppets with one sheet. This kind of puppet makes a fairly easy project for children 1st grade and above, and you will find it appealing even for high school students because you can scale up the difficulty by adding more pieces to cut out and assemble.
There are a great deal of shadow puppets designs to choose from. Some of my designs include lions, ballerinas, dragons, ninjas, pigs, and many more. I have also made designs for super heroes and comic book characters such as Batman and the Mandalorian, and, or even real-life super heroes such as Simone Biles or Serena Williams.
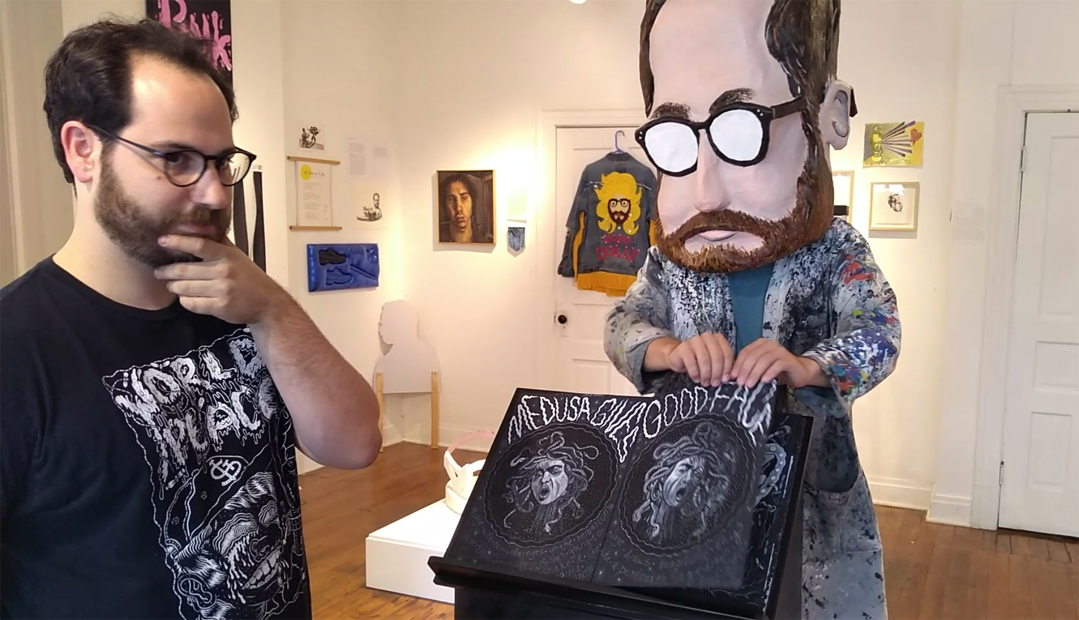
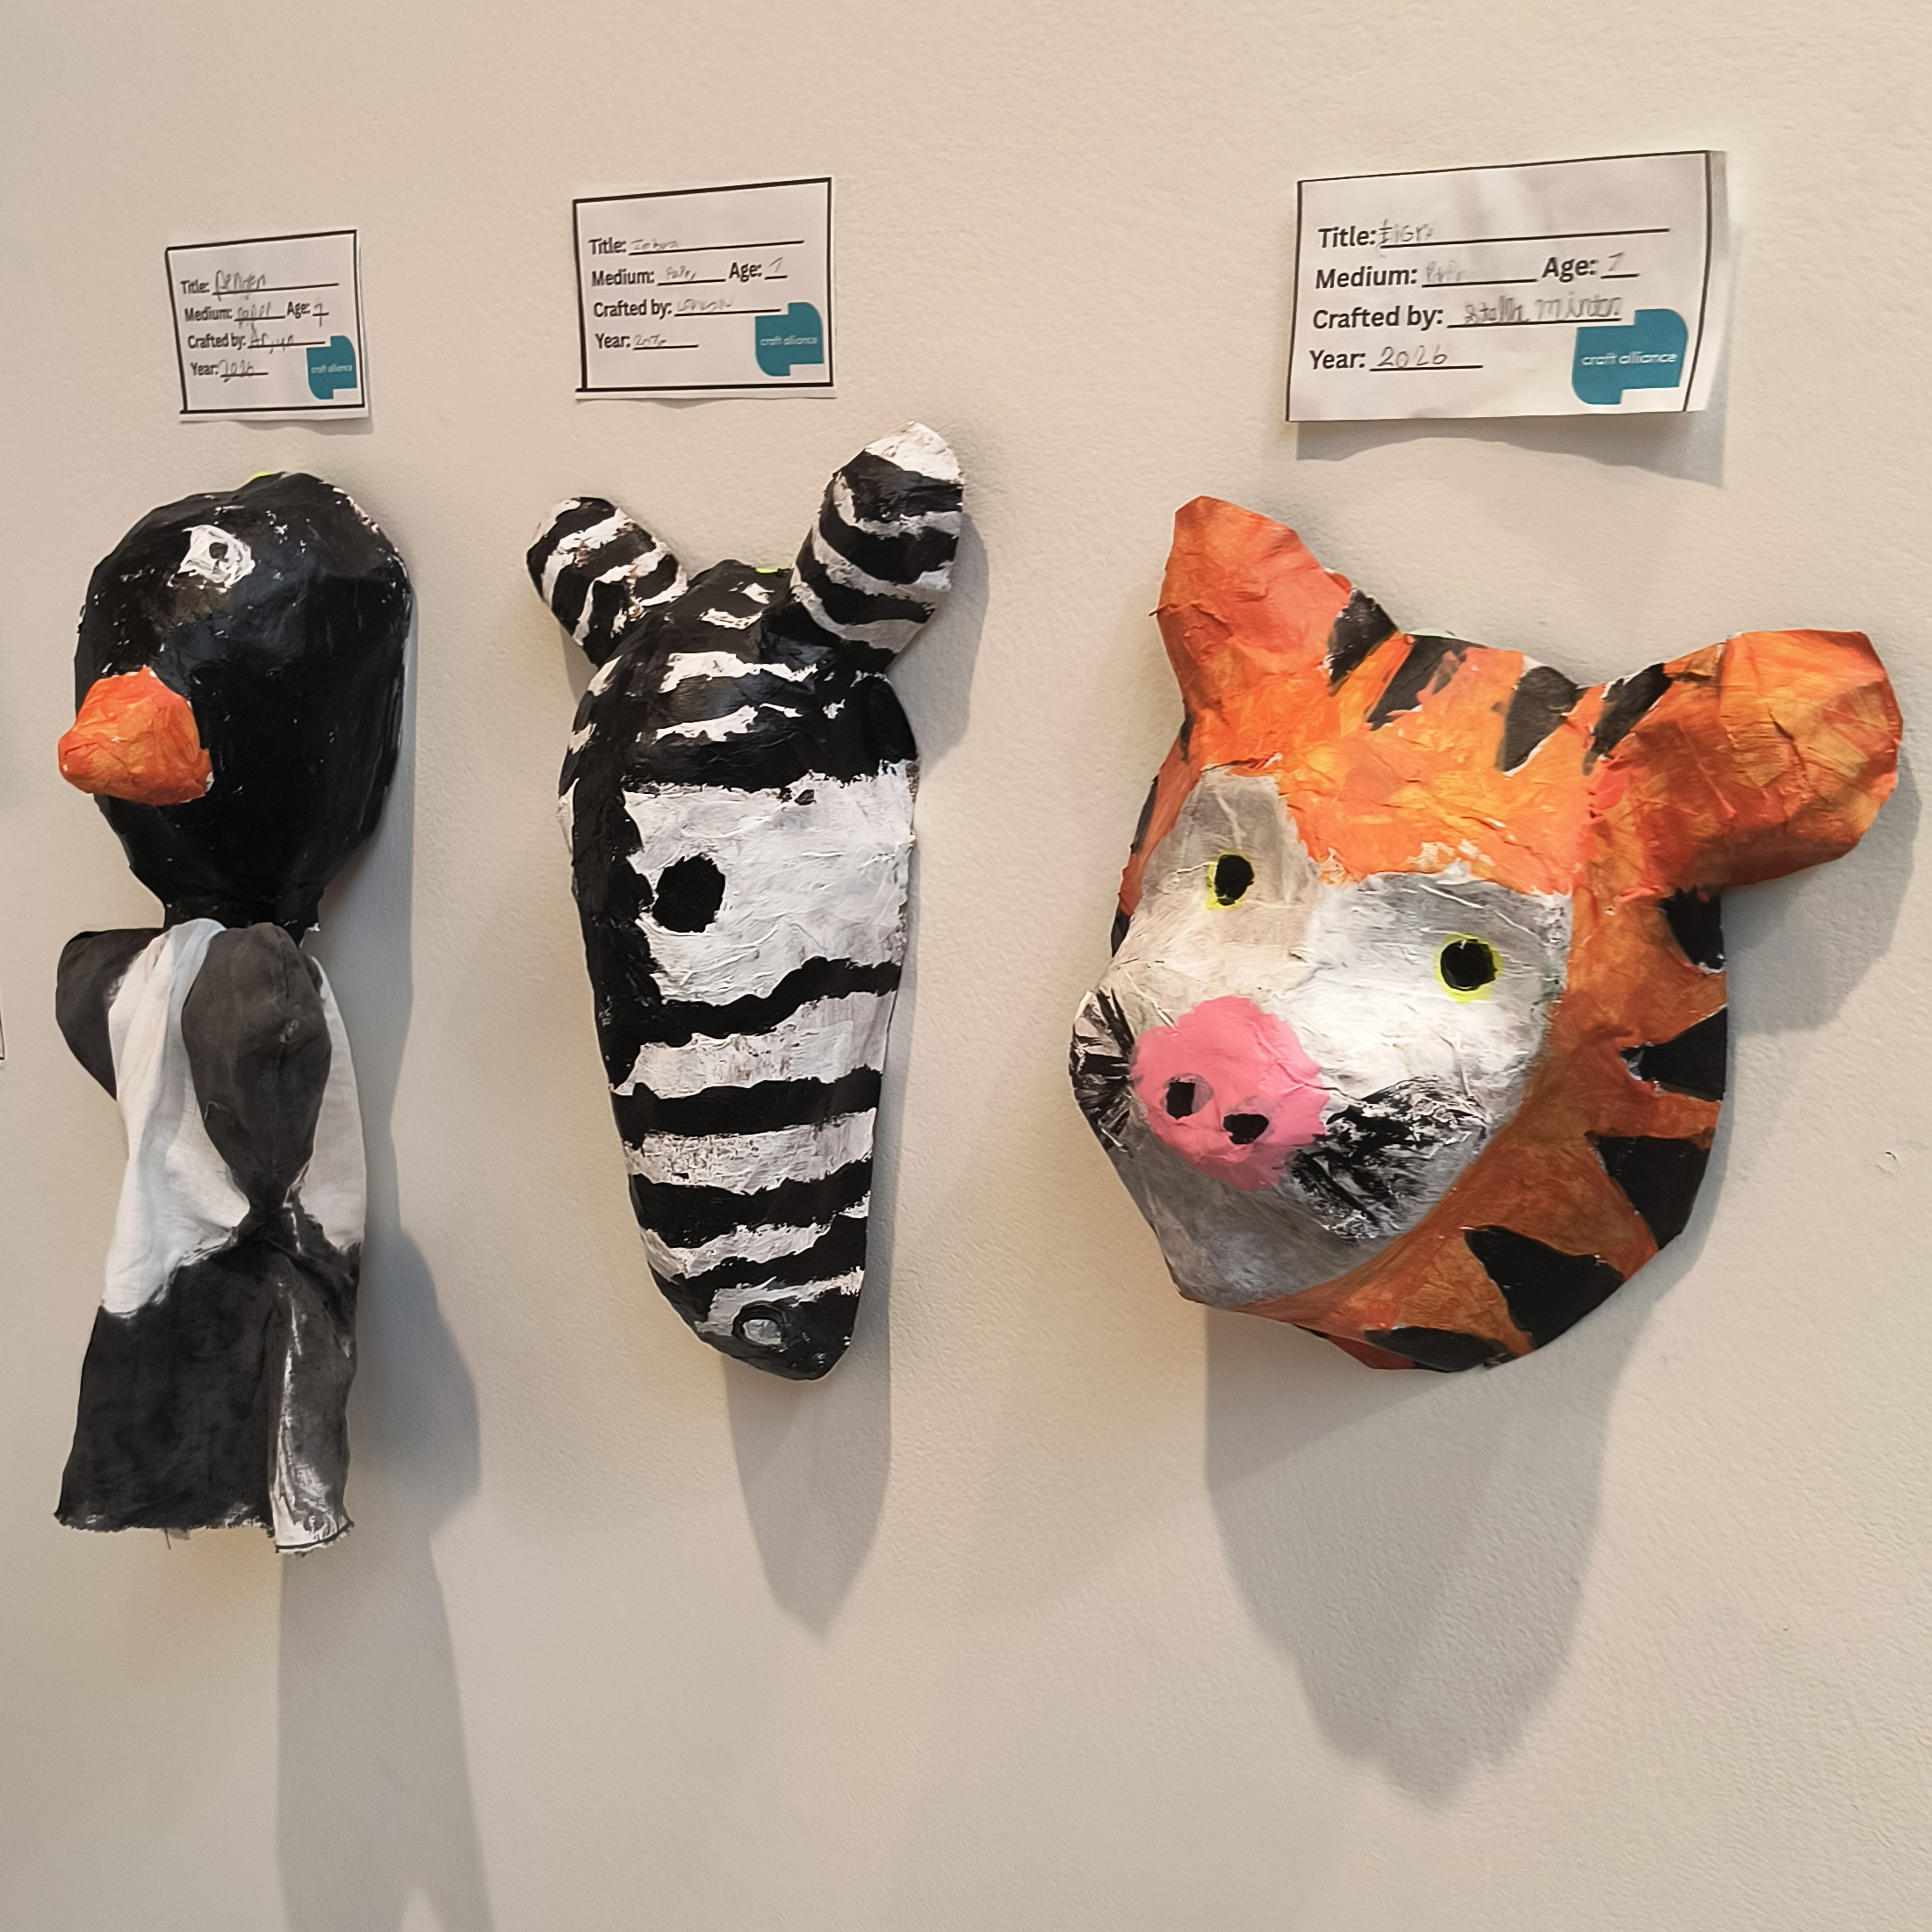
With white ink hand drawn on black paper, his book is a stunning work of art, but Edo Rosenblath had a problem. The pages of his book would not turn by themselves. Some artists may have overlooked this small detail, but not Edo, and so he went to puppet builder Paul Vandivort for help. Now Edo is able to be in two places at once! Edo’s doppelganger puppet is built entirely out of paper maché, painted with acrylics and was based on drawings by Peter Pranschke. It was on display, along with his book, at Flood Plain Gallery.
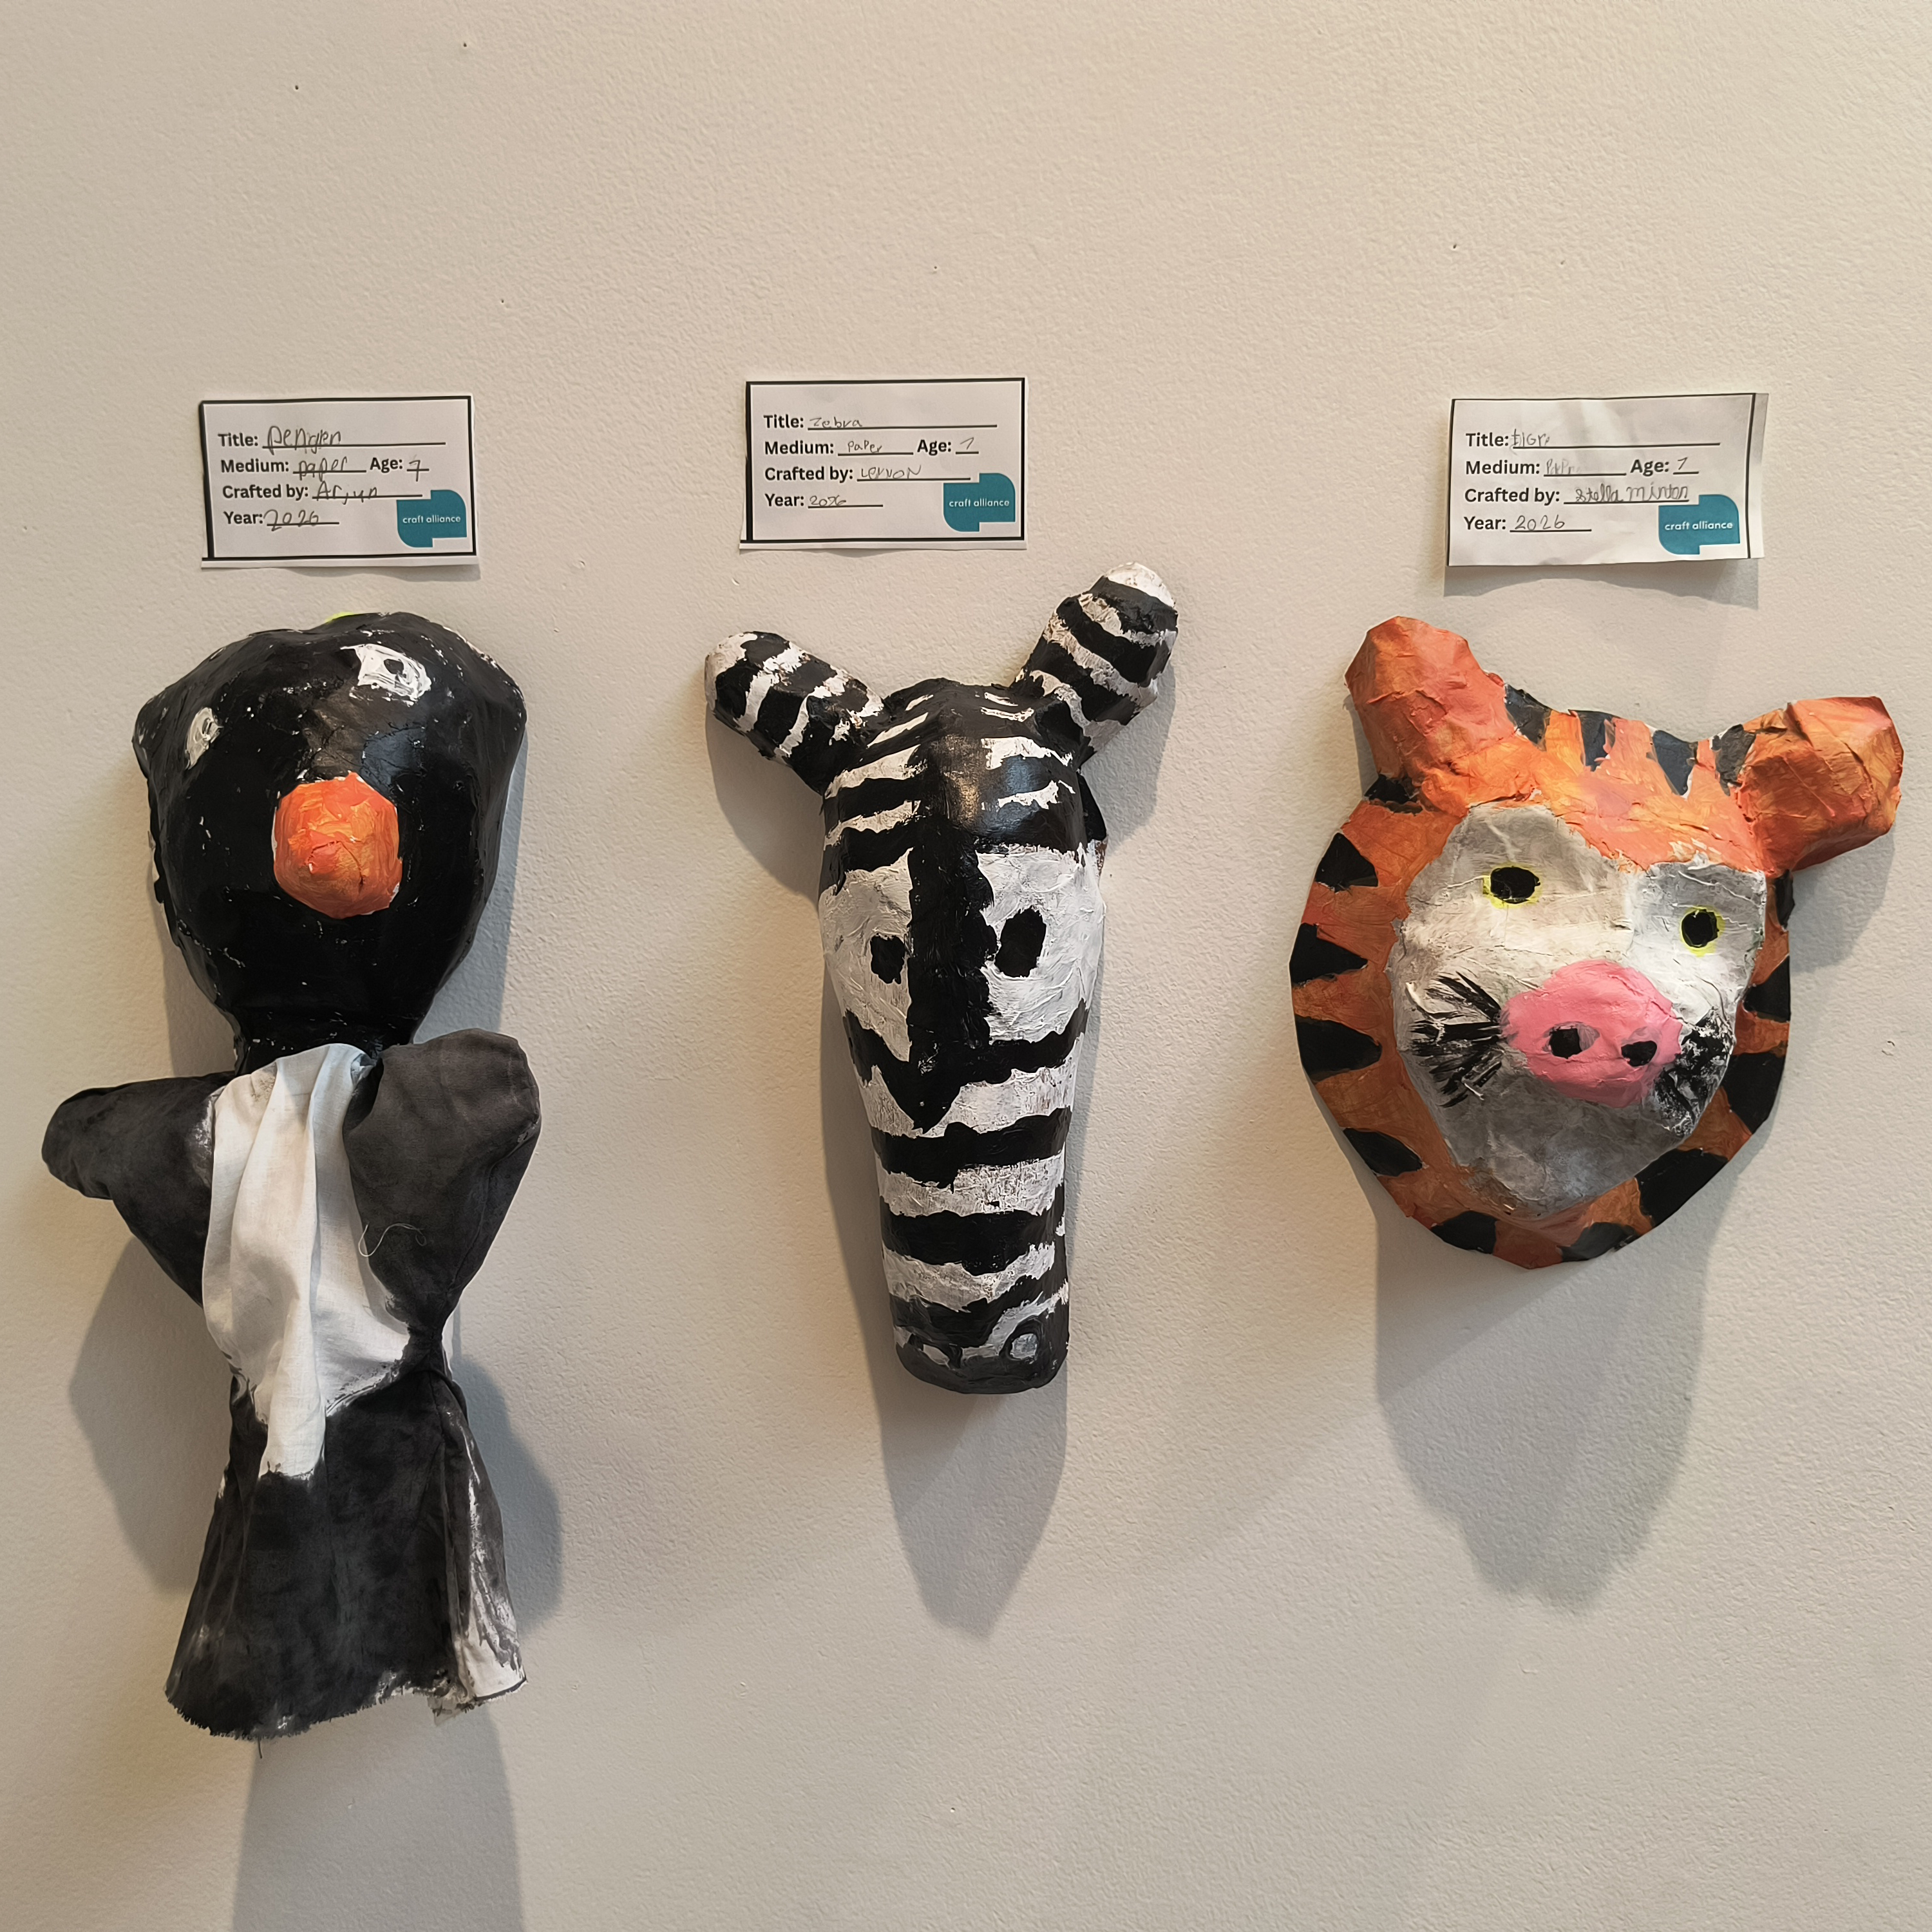
When I started making puppets and masks I didn’t know how to take it when people said “wow that’s creepy”.
When making masks, I felt that creepy was good. I was able to hide my own eyes in the construction of the head, and instead made over sized puppet eyes. People said that they couldn’t help but look at my puppet eyes while talking to them, and found themselves looking around for my real eyes. I also learned that I could direct the gaze of the eyes around the room and make people feel like the mask was really looking at them.
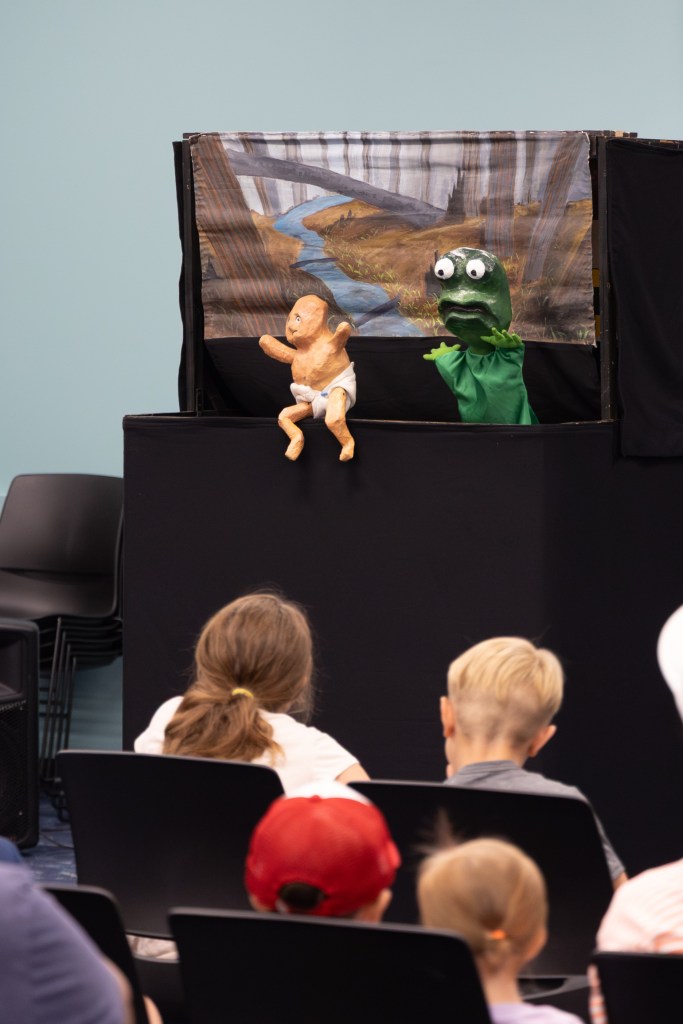
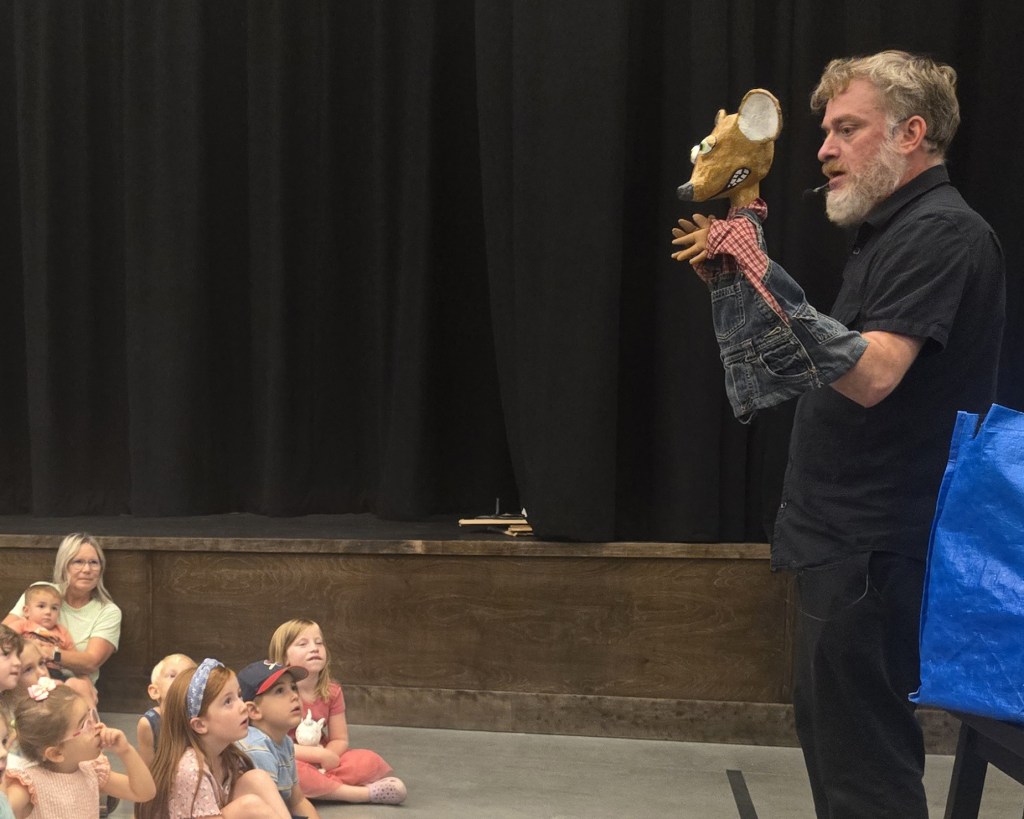
When making hand puppets, I was on the quest to make a puppet that was not creepy, but I struggled to figure out how. Perhaps this is a big reason so many puppets are made out of foam and fabric, because they ultimately look more like stuffed animals than like real creatures. The paper mache style of puppet I have always loved is much more affordable than foam, and allows for much more detail, but it features that frozen face that so many people have trouble with. I would give one piece of advice to anyone who wants to experiment with this style of puppet, but doesn’t want to make it creepy: make animals, not people. It is much easier to make an animal and make it stylized and weird and still make it cute. Audiences have a much higher expectation of what people should look like. When we don’t meet those expectations we can fall into the “creepy zone”, and funny enough, when we make those expectations too well, we can also fall into that zone.
Eventually I just gave up, and decided to see how creepy I could make some of my puppets. My puppet of President Trump is an excellent example of this. People find themselves watching these videos and suspending their disbelief, and they believe that this really is the president, in some surreal way. I made other puppets of public figures, but not all of them I feel were successful. I made an Alex Jones puppet, but his head was so large that it wobbled in an un-realistic way. I made the “Undead Corpse of Andy Rooney” and people have said that this puppet is cute. All of these experiments are up on my social media, so please watch and enjoy, and please leave your comments. On Twitter I am @puppetpaul and on Instagram I am @paulspuppets.
My new spider marionette is the creepiest puppet I have ever made. It is a spider the size of a pit bull, and has four eyes . For my son’s trunk or treat I built an elaborate haunted house out of cardboard and let kids come inside and see the giant spider. Kids of all ages took pause, and never once did I hear the words “that’s fake” or “that’s not scary”. Creepy can be good. A lot of those kids came back a second time to scare themselves again.

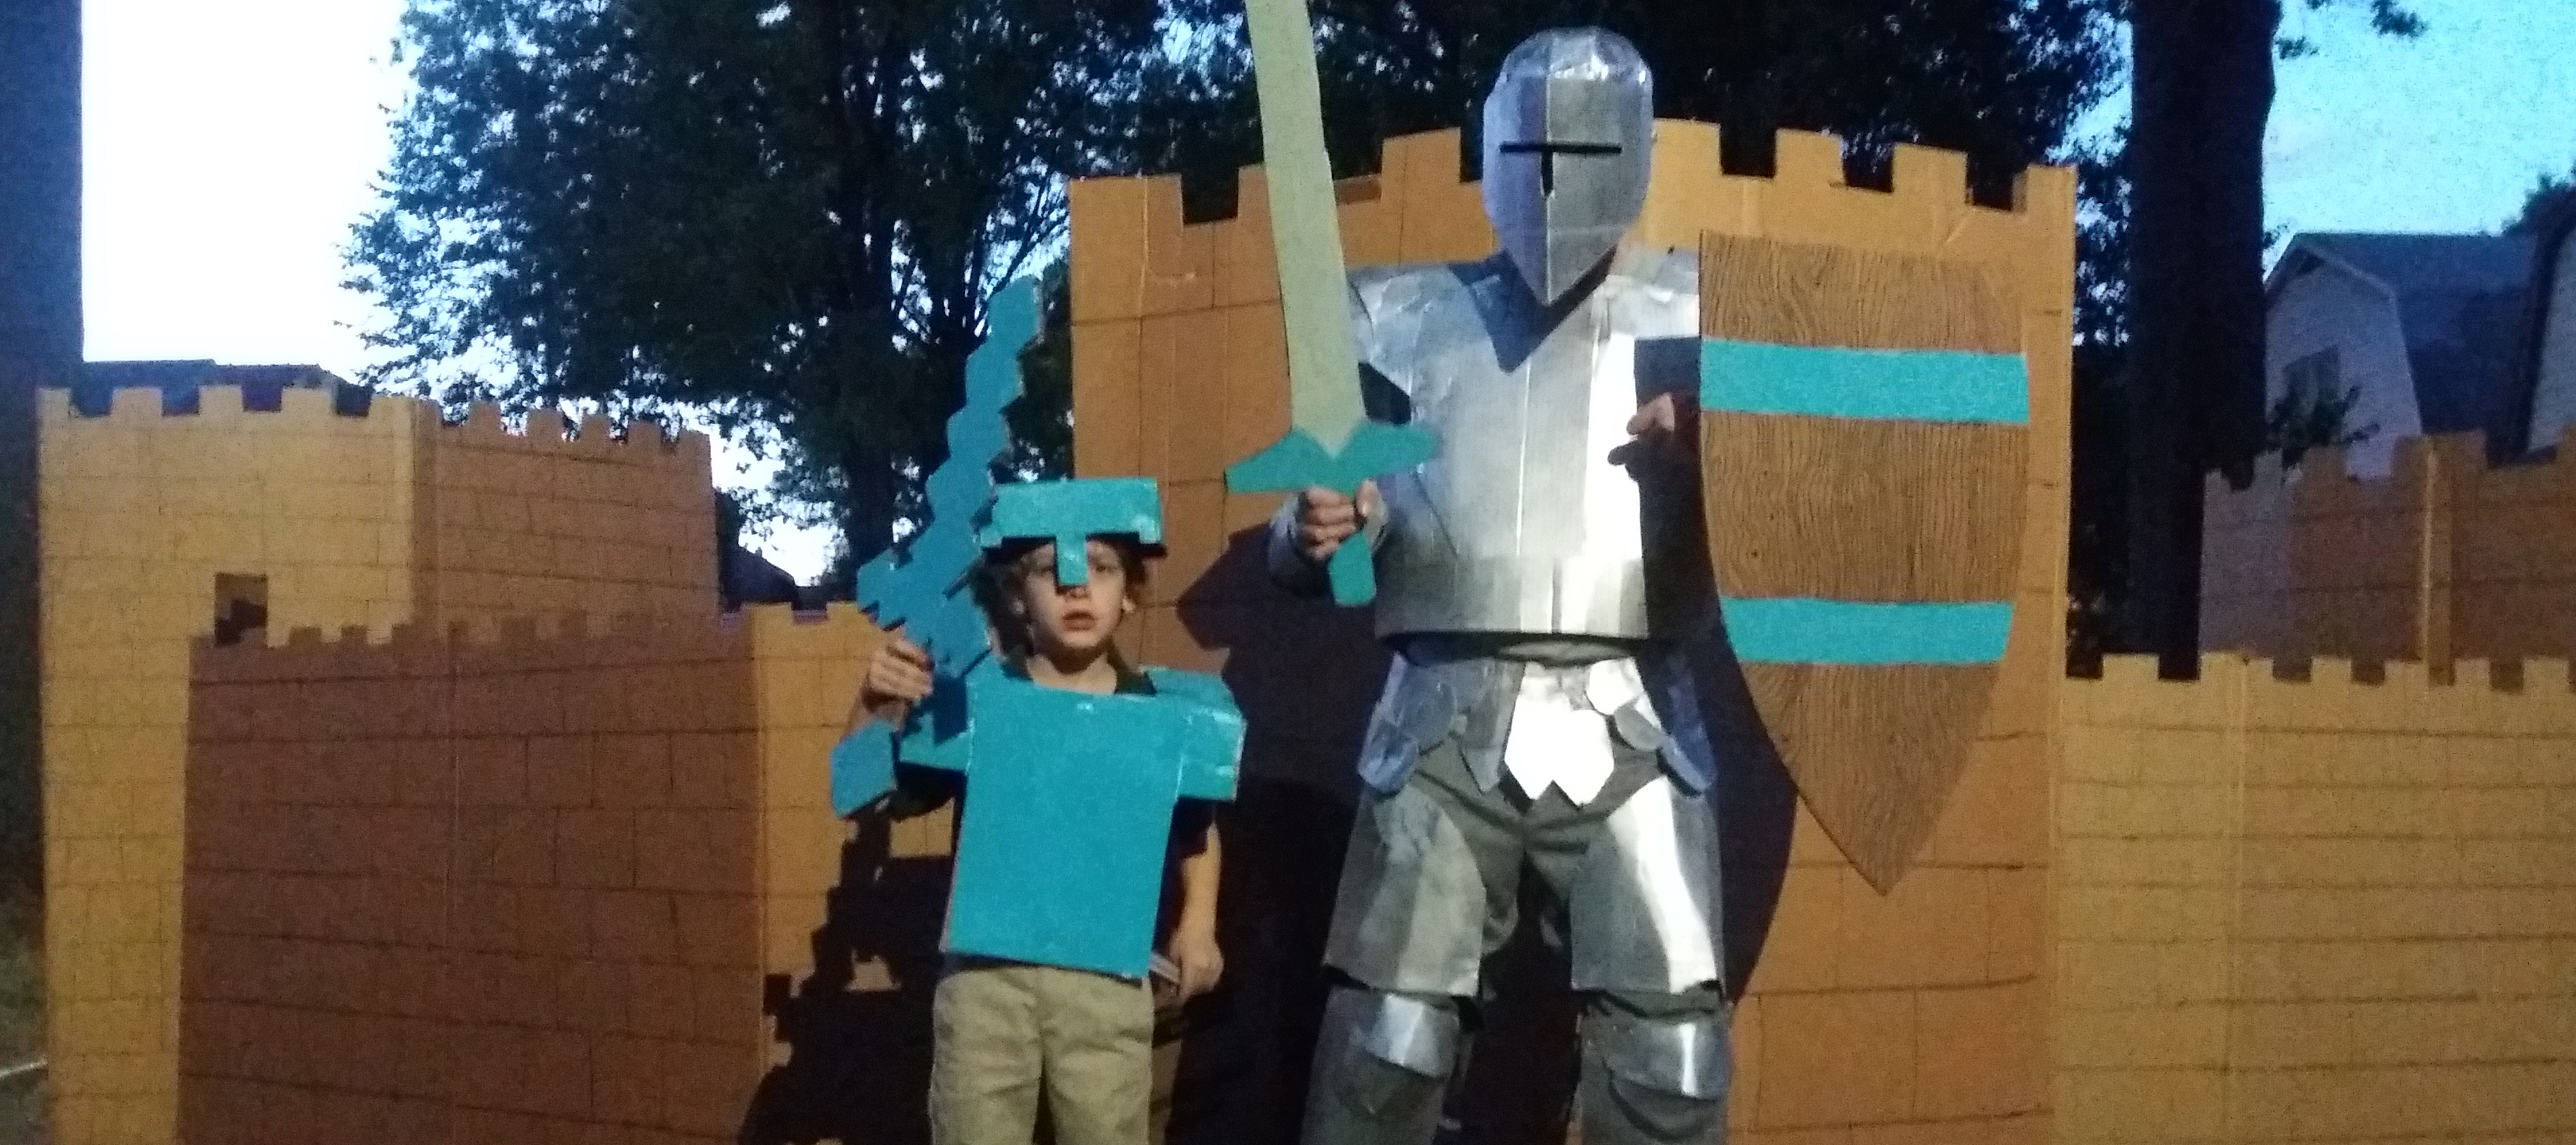
“We’ve got Cardboard in the Car” was a song my son made up when he was five and we driving home from preschool. Inside our Kia we had a new refrigerator box, and we were going to build a house. Three years later, my son is in second grade, and a refrigerator box is still almost twice as tall as he is. It is the perfect material to build a cardboard castle with for Trunk Or Treat. I’ve got more than ten boxes stashed away this year, ready for Halloween, but you can make something much smaller with just a box or two.
Seven tips for cardboard lovers how to wrangle a refrigerator box
1- How to find monster sized boxes: If you are lucky your local appliance store will have a clean dumpster, or if you are even luckier the store will hold the box aside for you. Very often the store will have a warehouse where they will store piles of boxes waiting to go on the weekly recycle run. Big box stores like Lowe’s or Home Depot don’t seem to have these big boxes, ironically. (They probably put them in a trash compactor or something) Now that you have found your box, you’ll just need a van, station wagon or pickup truck to haul the box or boxes back to your home.
2- How to trim your cardboard box: I like to cut off the top and bottom flaps off the box so I can more easily fit the box inside my car. I also cut the box from top to bottom along one corner. This allows me open up the box to reveal the plain brown side of the cardboard. This is the inside of the box where there is no printing and is where you can let your child draw, paint, and glue to their hearts content.
3- Tools for wrangling cardboard: My personal favorite tool for cardboard is what Puppeteers call the “creature stapler”. This stapler is basically an office stapler on steroids. The most common models are the the Bostich B8 heavy duty 45 Sheet plyer stapler or the Arrow P35. I am pretty sure these staplers were made to work with sheet metal, but they work quite well with cardboard too. Of course you will also want a plain old retractable box knife, with a fresh blade.
4- How to fold: Cardboard does not fold that easily, so you will want some help. Your child can help here, finally. Use a stick of lumber(1X4 or 2X4) to draw a strait line across the box where you want to fold(or let your child draw the line). Put the same lumber on the line you drew and have your child stand on the lumber. With the child’s weight holding the lumber down fold up on the box. The box should fold on a strait line along the lumber. If your child is big enough you can let them fold while you kneel or stand on the lumber. You can also kneel on the lumber and fold it by yourself if you have to.
5- Stapling your box in the middle where the stapler won’t reach: You’ll need a partial access hole so you can staple to two boxes together in the middle. This hole just needs to be big enough to fit your stapler in, and can be repaired easily after the staple is made. Put two boxes together or fold one box so it meets up with itself(see #6 for the later). Staple the two boxes at the top, and if you can staple them on the bottom as well. In the middle, where the two boxes overlap cut strait down in one box and then cut up at a 10 degree angle. This makes a V shape cut, tilted to one side. Then bang on the V shape real hard to push it inside the box. Put your stapler inside what is now a v shaped hole and staple the two boxes together. Then, when you have added a few staples, you can fold the v shape back so that now when looking at it you have a solid wall of cardboard. Anytime you want you can open the V shape hole if you want to let your kid peek through the hole. Or you can tape the v shape up from the inside if you don’t want it to open.
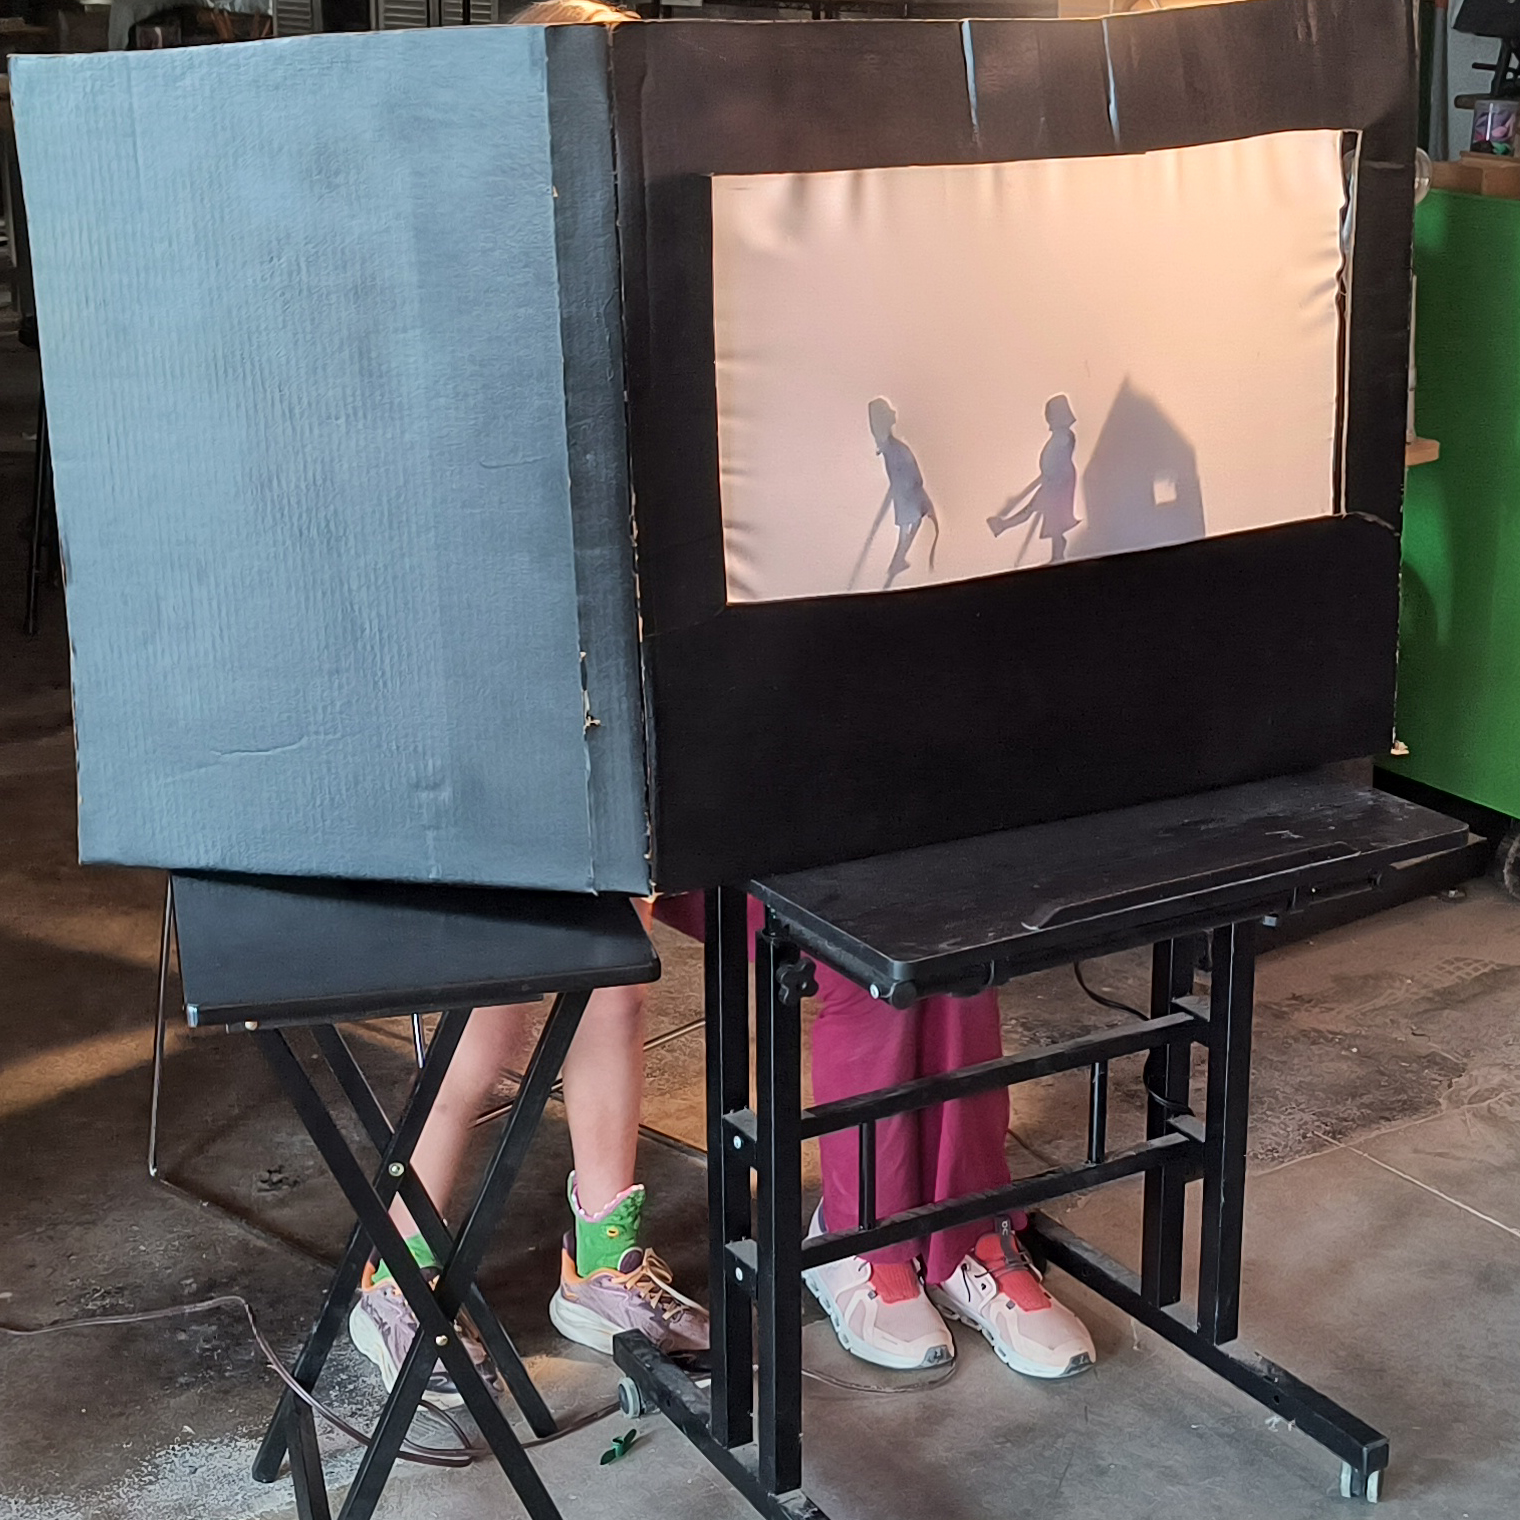
6- Folding a tab, and reversing your box– I like to use the natural folds of the box so I have have three large folding walls, and a fourth folding wall with a small 2 inch fold along one side called the tab. Now stand the box up, folding the four main walls in so that the blank side of the cardboard is showing on the outside. After you staple the tab of the box to the far wall you have made a new box with open roof and floor. This new box has no writing on the outside and is a blank canvas for your child to decorate. Cut a door and you have a house. Cut a window and you have a puppet stage.
7- Remember, it has to fit through the door: You might think it’s fun for you and your child to go and measure how wide the door is, but then again, you might not want to give them any ideas. These cardboard structures can get pretty big pretty quick, and you are going to want to lay down some ground rules with your kiddo about where it will live and how long you plan to keep it around. When we made our first house I told my son he could only have the one house. He spent nearly a whole year building it, gluing on paper shingles, painting and repainting, and adding all kinds of detail and additions. Finally a year later he told me he wanted to demolish because if he demolished it he could get a new box and start building a new structure.


